
REVIEW · AMSTERDAM
Capture Iconic Amsterdam: Photo Walk with a Pro Photographer
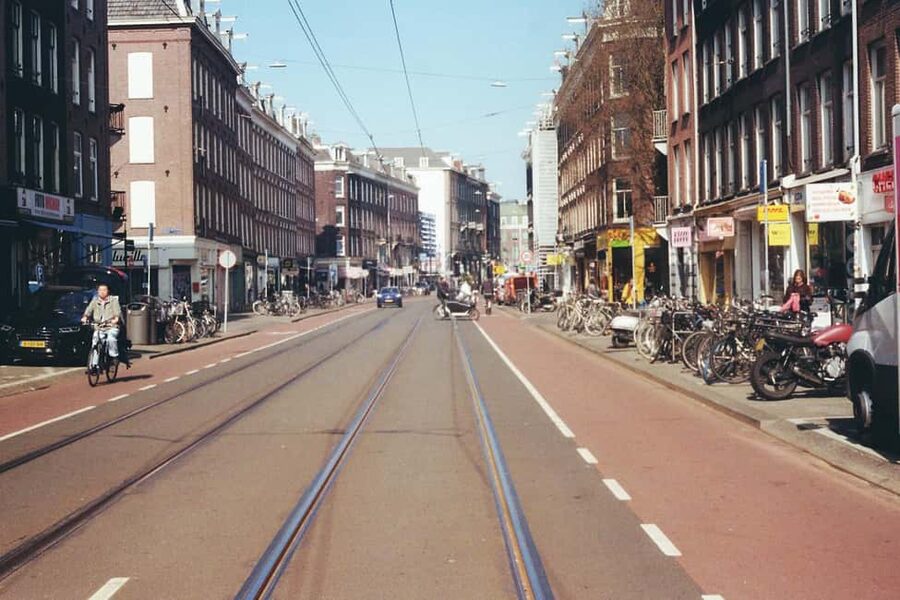
Amsterdam is easy to photograph badly: pretty canals, gray skies, bright windows, and too many people in the frame. This private walk with Joep van Drunen gives you a better plan. You move from Dam Square through quiet lanes, old courtyards, bridges, and canal viewpoints while learning how to use the light and your own camera.
I like the personal coaching and the range of equipment supported, from a full DSLR to a smartphone. I also like the route, which mixes famous sights with less obvious corners such as Dubbele Worststeeg and the Aluminiumbrug. The main consideration is price: at $112 per person, this is a serious spend for 2.5 hours, especially if you only want sightseeing and do not care much about photography.
Key points at a glance
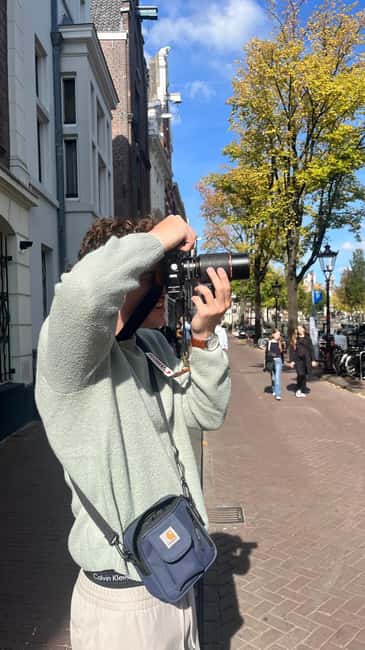
- Personal camera coaching: Joep adjusts advice to your skill level and your own DSLR, mirrorless camera, advanced compact, or smartphone.
- A smart central route: Start at the National Monument on Dam Square, then walk to Begijnhof, Herengracht, the Flower Market, Reguliersgracht, and Zuiderkerk.
- Useful technical lessons: Practice depth of field, long exposures, motion blur, reflections, histogram reading, and basic post-processing.
- Two different Begijnhof experiences: The inner courtyard is closed on the 9 AM walk, while later departures can enter it with a smartphone because DSLRs are not allowed.
- Private and flexible: The walk is designed for a private group, with room to pause for coffee or adjust the route for a specific photo request.
- Take-home learning: You receive an illustrated map, a technical booklet, and five post-processing tips after the walk.
Starting at Dam Square with the right camera settings
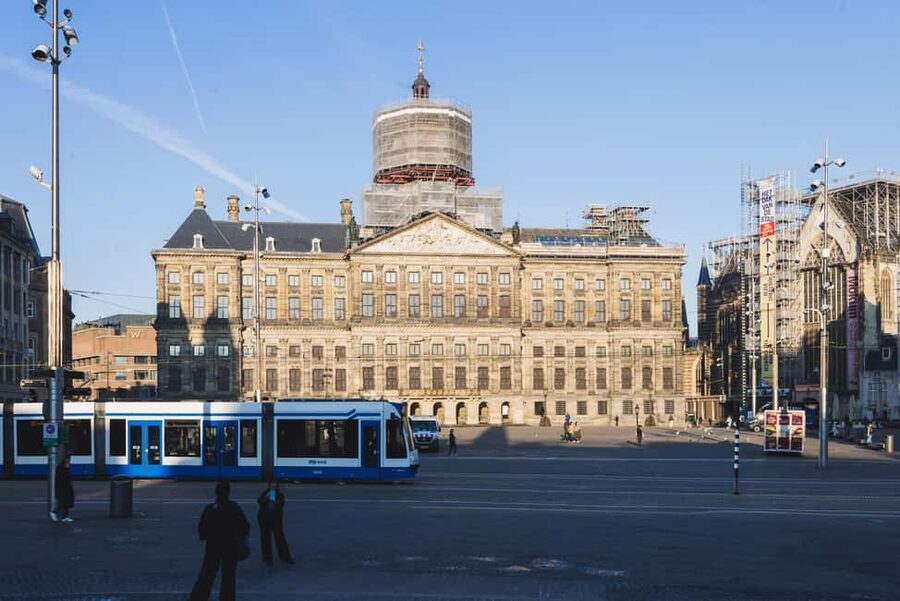
Meet Joep at the foot of the white National Monument in the middle of Dam Square. It is hard to miss, and the meeting point makes sense for a first-time visit because the square is central and easy to reach.
The opening lesson is practical rather than formal. Joep checks your equipment and helps you set ISO, aperture, and shutter speed before the walk gets moving. That matters because you do not want to spend the first hour guessing at controls while Amsterdam’s light changes around you.
You can bring a DSLR, mirrorless camera, advanced compact, or smartphone. This is not a tour only for serious camera owners. A phone user can work on framing, exposure, reflections, and editing, while a camera user can get more from depth of field, long exposures, and motion blur.
Dam Square itself serves as the first photo stop. It can be visually busy, so the lesson here is less about finding a postcard view and more about getting your bearings. You can practice basic composition before moving into tighter streets and quieter canal scenes.
The walk lasts about 2.5 hours, though the stated route description allows roughly two to two and a half hours. The pace includes stops, demonstrations, image checks, and short walking sections. This is not a fast city tour where you rush from one landmark to the next.
More Photography Tours in Amsterdam:
- Amsterdam: Customizable Photography Tour with 9-10 Photos
★ 5.0 · 22 reviews - Barcelona E-Bike Photography Tour
★ 5.0 · 843 reviews - Tromso: Northern Lights Photography Tour
★ 4.2 · 843 reviews
Begijnhof: a calm test of composition
From Dam Square, you walk about five minutes to Begijnhof. This historic courtyard offers a sharp change of mood from the open square. Its enclosed setting, old buildings, and narrow approaches give you a chance to work with quieter subjects and careful framing.
There is an important timing detail. On the 9 AM tour, the inner courtyard is still closed. You will instead photograph the surrounding streets, buildings, and alleys. That early departure still has a useful benefit: the streets are quieter, with fewer people crossing your frame.
On later walks, you can enter the courtyard itself. Smartphone users get a particularly interesting assignment here because DSLRs are not allowed inside. You will need to rely on composition, light, and timing rather than a large camera or a collection of lenses.
I like this part of the route because it teaches restraint. Begijnhof is not a place where you need a dramatic effect at every turn. Look for balanced lines, small details, and the way the available light falls between buildings. The setting rewards patience more than complicated gear.
The 15-minute stop is long enough for a short lesson and a handful of attempts, but not so long that the walk becomes a single-location workshop. Remember to keep your voice low and follow any photography rules in the courtyard.
From Spui to Herengracht by way of a narrow alley
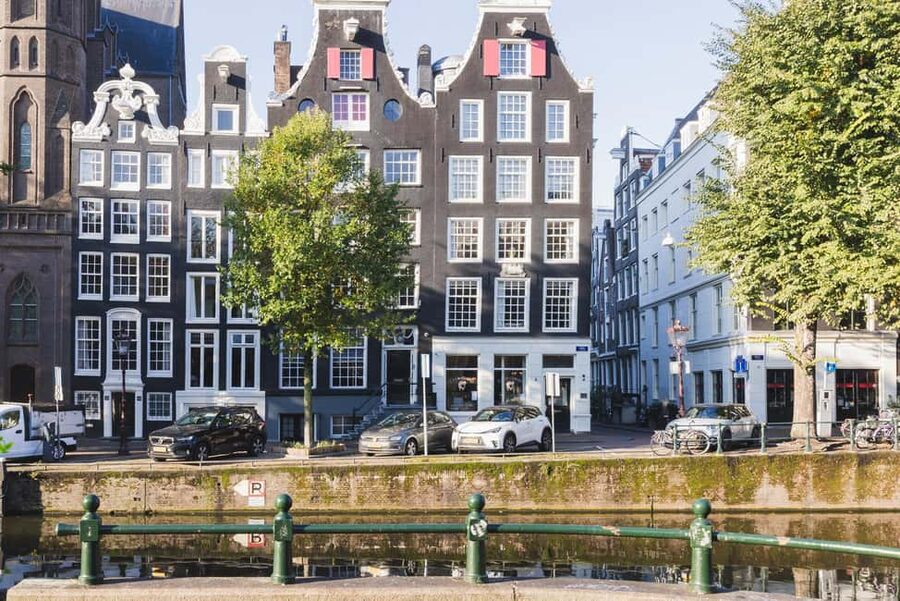
After Begijnhof, the route passes through Spui and then uses Dubbele Worststeeg, a narrow lane that opens toward Herengracht. This is one of the more interesting transitions on the walk. You move from a tucked-away passage into the broad canal view, which gives you two different composition problems within a few minutes.
At Herengracht, Joep shows you how to build a classic Amsterdam photograph. Reflections in the water can add a second layer to the scene. Bridges provide symmetry and structure, while the canal itself creates leading lines toward the tall gabled houses.
These are useful lessons because they work well beyond Amsterdam. If you understand how a bridge frames a subject or how a canal pulls the eye through an image, you can use the same ideas at home.
The route includes a photo stop at Wijde Heisteeg, with about 15 minutes for shooting. A small lane such as this lets you practice on a tighter scale. You might work on the relationship between old façades, pavement, windows, and people moving through the scene.
This section may be less satisfying if you want constant landmark photos. It is designed for learning, not simply collecting famous views. The payoff comes when you start noticing how a modest street can produce a stronger image than a crowded square.
The Flower Market for color and detail
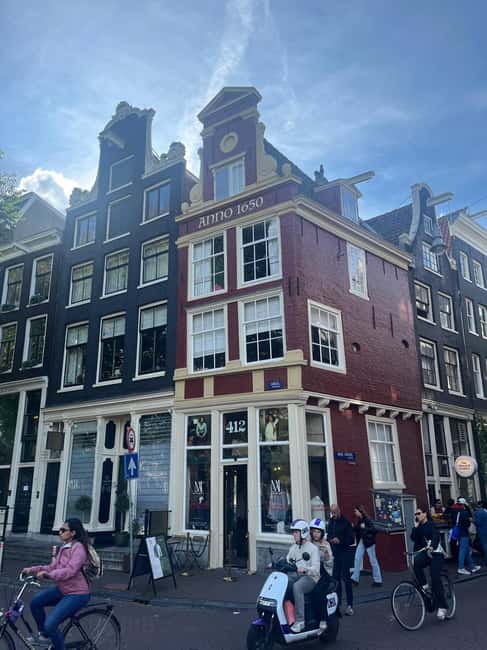
The walk continues toward Amsterdam’s Flower Market. The market brings stronger color and smaller subjects into the lesson. Instead of looking only for wide canal views, you can practice close detail shots, color contrast, and selective focus.
The route lists a walk of about five minutes followed by a 15-minute photo stop. That gives you enough time to try several approaches without turning the visit into a shopping stop. The focus remains photography.
This is a useful point to work on aperture and depth of field. A wider aperture can separate one subject from a busy background, while a smaller aperture can keep more of the scene sharp. The right choice depends on the subject and the effect you want, and Joep can explain the tradeoff using your own camera.
Smartphone users can work on tap-to-focus, exposure control, and framing. You can also use the market to think about color balance. Bright flowers and packaging can fool a camera into overexposing highlights, so check your screen rather than trusting the first image.
The Flower Market may be the busiest-feeling part of the route. If crowds are a concern, the morning start is worth considering. One participant specifically found the morning walk quieter and better for photography. That does not guarantee an empty route, but it improves your chances of working without as many people in the frame.
More Walking Tours in Amsterdam:
- NYC Professional Photoshoot and Walking Tour with Private Guide
★ 5.0 · 608 reviews - Tokyo: Kimono Dressing, Walking, and Photography Session
★ 4.9 · 427 reviews - Santorini: Customized Private Photoshoot Walk in Oia
★ 5.0 · 335 reviews - Paris Private Walking Tour with a Personal Photographer
★ 5.0 · 262 reviews
Reguliersgracht and the technical side of exposure
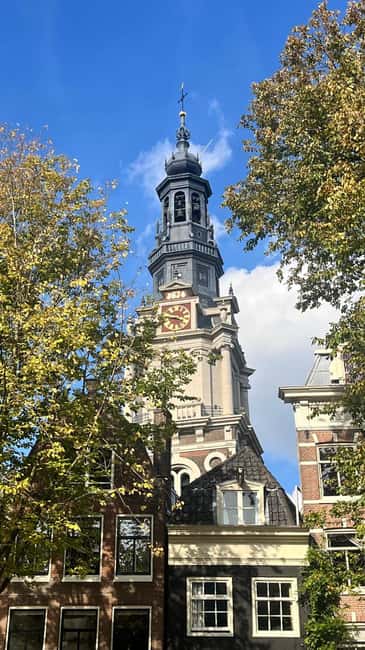
From the Flower Market, you walk toward Reguliersdwarsstraat and then Reguliersgracht. This stretch brings back the canal architecture, but the lesson becomes more technical.
Reguliersgracht is a strong place to work on balance and depth. Amsterdam’s bridges and canal houses give you repeated lines, layers, and reflections. You can try a straightforward documentary frame, then change your position or focal length to make the same view feel more spacious or more compressed.
Joep covers long exposures and creative motion blur during the walk. These techniques can make moving people or water look softer, but they require control over shutter speed and exposure. The lesson is useful even if you prefer sharp, natural-looking photographs because it helps you understand what each shutter setting does.
You also learn to read your camera’s histogram. This is one of the more valuable technical points in the experience. A bright sky can look acceptable on the camera screen while losing all detail in the highlights. Dark canal water can also turn into a solid block of shadow. The histogram gives you a more reliable check.
The tour does not promise that every image will be perfect in changing Amsterdam light. That is part of the point. You get immediate feedback and can make another attempt while you are still standing in the same place.
Aluminiumbrug and Staalmeestersbrug: classic Amsterdam views
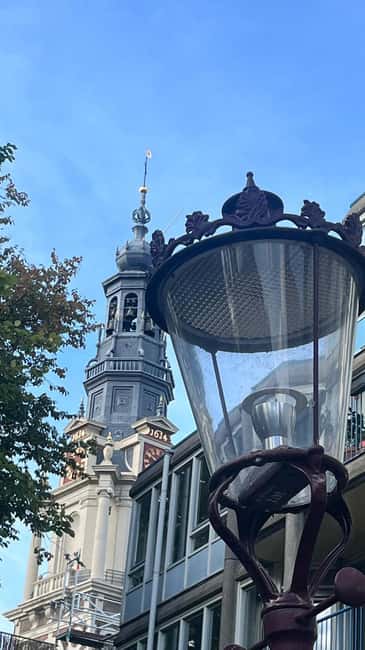
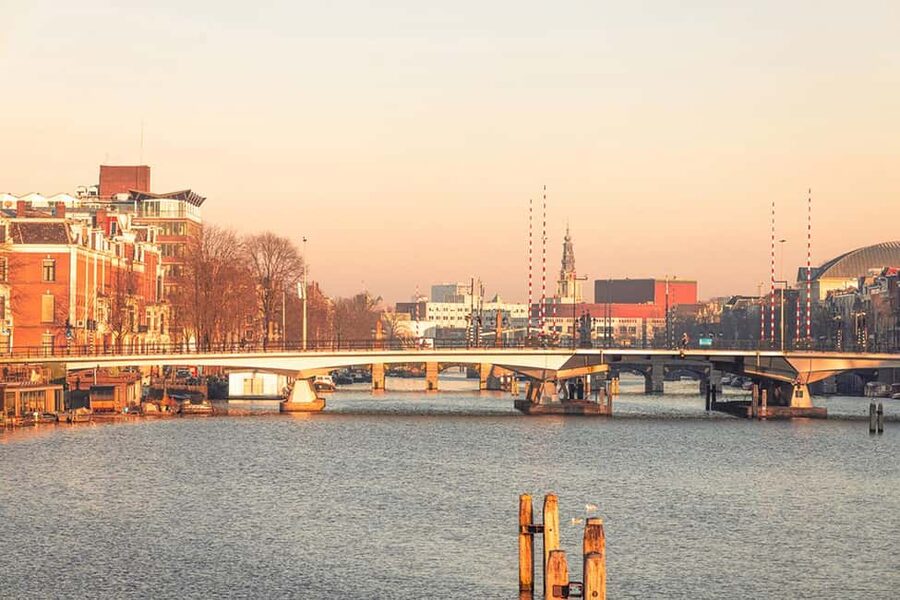
The Aluminiumbrug and Staalmeestersbrug offer two of the walk’s strongest viewpoints. The Staalmeestersbrug is known for its view toward the Zuiderkerk tower, giving you a recognizable Amsterdam subject without reducing the lesson to a simple snapshot.
Here, you can practice depth and balance. A bridge can act as a foreground frame, while the canal carries the eye toward the tower or houses beyond. Reflections can repeat the shapes in the water, but they are not always perfectly clear, so your timing and camera position matter.
These stops are also a good test of personal preference. You might prefer a wide view that includes the entire canal, or a tighter composition that uses only a section of bridge, tower, and reflection. Joep can review the result on your camera screen and suggest a small adjustment rather than giving you only general advice.
The route then circles back through the Zuiderkerkbuurt toward Dam Square. The listed stop here combines photography, a guided walk, and more time to discuss what you are seeing. It keeps the return leg useful instead of treating it as dead time.
Quick editing advice before returning to Dam Square
Near the end of the walk, Joep shares simple ways to improve images without sitting down at a full computer workstation. You can look at custom camera profiles or mobile editing apps, with tips on matte curves, stronger color contrast, and subtle film-style grain.
This part is helpful for you if the technical side of photography does not stop when you press the shutter. Many travelers take good images but later make them too bright, too sharp, or too saturated. Small adjustments can support the original scene instead of overpowering it.
The experience includes a live image review over coffee. Coffee beyond the included review is not covered, and meals are not part of the price. The stop is valuable because you can ask about your own images while they are fresh, rather than trying to remember the advice later.
You also receive an illustrated map of the photo stops, a detailed technical booklet, and five professional post-processing tips. These materials give the tour more lasting value. You can return to the same subjects on your own and repeat the exercises.
The final photo stop is back at Dam Square, with about ten minutes for a last lesson and a few closing images. By then, you should have worked with canals, courtyards, architectural lines, color, reflections, exposure, and editing.
What $112 buys you
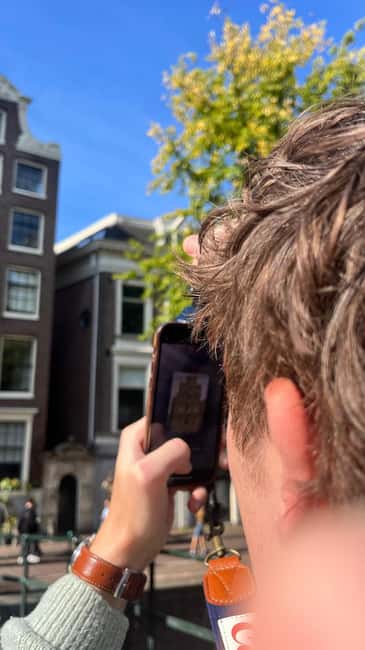
At $112 per person, this is not a bargain sightseeing walk. Its value depends on how much you want hands-on instruction. You are paying for a private group, direct feedback, a professional guide, camera demonstrations, route planning, printed learning material, and a coffee-based image review.
For a photographer who has been stuck on automatic settings, the price may be reasonable. A few focused hours can help you understand shutter speed, aperture, ISO, histograms, and composition in a real setting. The advice is also tailored to the equipment you already own, so you do not need to rent a camera.
The value is lower if you mainly want to see Amsterdam’s landmarks. You can walk through much of this area without a guide, and the tour does not include a meal, transport, or camera hire. It also covers a lot of ground, so it is not a full workshop at every stop.
The private format helps justify the cost. You can ask for a specific place, request a coffee pause, and adapt the route around a photo goal. That flexibility is especially useful for couples or small groups with different skill levels.
Who should book this photo walk
I would choose this experience for:
- Beginners who want help beyond basic camera buttons.
- Hobby photographers who understand their camera but want better composition.
- Smartphone photographers who want more control over exposure and editing.
- Couples or private groups who prefer personal instruction over a large class.
- Visitors who want quieter morning streets and a route that avoids only the obvious postcard stops.
- Photographers who want a practical introduction to Amsterdam before exploring alone.
I would think twice if you dislike walking on cobblestones, have no interest in photography, or want a relaxed sightseeing tour with little instruction. Comfortable shoes and weather-appropriate clothing are important, and you need fully charged batteries plus enough memory.
The tour is wheelchair accessible, but the supplied information does not explain the exact surface conditions or route adjustments. If that matters for your booking, ask for current details before reserving.
Should you book Capture Iconic Amsterdam?
Book it if you want to leave Amsterdam with better skills, not just more pictures. Joep’s route gives you a useful mix of major views and quieter streets, while the personal format lets you work with the camera or phone you actually use.
The morning departure is a smart choice if you want fewer people in your frames, though remember that Begijnhof’s inner courtyard is closed at 9 AM. Choose a later start if entering the courtyard matters more to you, and bring a smartphone because DSLRs are not allowed inside.
At $112, this is best viewed as a private photography lesson that happens to take place along one of Amsterdam’s most photogenic routes. If that sounds worthwhile, the technical coaching, image review, and take-home material make the price easier to defend. If you only want a guided walk, spend the money elsewhere.
FAQ
Where does the photo walk begin?
It begins at the foot of the National Monument in Dam Square. The monument is the tall white stone pillar in the center of the plaza.
How long does the experience last?
The advertised duration is 2.5 hours. The route description allows roughly two to two and a half hours, including walking, photo stops, lessons, and image review.
What camera can I bring?
You can bring a DSLR, mirrorless camera, advanced compact camera, or smartphone. Camera rental is not included.
Is the tour private?
Yes. It is offered as a private group experience, allowing the instruction to match your equipment and skill level.
Who leads the walk?
The experience is provided by Joep van Drunen Photography BV. The guide named for the experience is Joep van Drunen.
What photography techniques are covered?
The walk includes depth of field, long exposures, split-toning, creative motion blur, reflections, symmetry, leading lines, histogram reading, and basic post-processing.
Can I enter Begijnhof on the 9 AM tour?
No. The inner courtyard is closed at that time. The 9 AM route explores the surrounding area instead.
Are DSLRs allowed inside the Begijnhof courtyard?
No. On later tours, the courtyard can be visited, but DSLR cameras are not allowed inside. The stop is suitable for smartphone photography.
What should I bring?
Bring your own camera or smartphone, fully charged batteries, ample memory cards, comfortable shoes suitable for cobblestones, and a small bag for your equipment.
Is coffee included?
A coffee is included during the live image review. Additional drinks and meals beyond that coffee are not included.
Just added around Amsterdam
- Amsterdam: Photoshoot on the Canals★ 4.5 · 2 reviews
- Amsterdam: Professional Photoshoot at the Canals★ 5.0 · 3 reviews
- Amsterdam: Professional photoshoot at Dam Square.★ 5.0 · 2 reviews
- Amsterdam: Photography Masterclass – Private Photo Lesson★ 5.0 · 2 reviews
- Amsterdam: Private Photoshoot in iconic locations★ 5.0 · 4 reviews
- Amsterdam: Professional photoshoot at Centraal Station★ 4.6 · 7 reviews
- Amsterdam Photographer: Private Proposal Photoshoot Session★ 5.0 · 2 reviews
- Amsterdam: Particular Photo Session★ 4.1 · 7 reviews
Photography Tours, compared.
Rhodes: E-bike Highlights Sunset or Morning Photo Tour
Read our review →
Browse the lists this tour appears in