REVIEW · NEW YORK CITY
New York City’s Iconic Sights: 3-Hour Photography Tour
New York’s famous buildings are easy to see and surprisingly hard to photograph well. This three-hour walk turns them into a practical photography lesson, taking you from 34th and Madison to major Manhattan sights and Central Park. The guide helps you use lines and angles instead of simply pointing your camera at a tall building.
I like the small groups of no more than eight, which should give you a real chance to ask questions and set up a shot. I also like that the tour suits beginners and experienced photographers alike. The main caution is the fast pace, plus a conflict in the practical details: subway fare is listed as included, but one participant found they still needed a MetroCard or contactless payment.
Key points to know
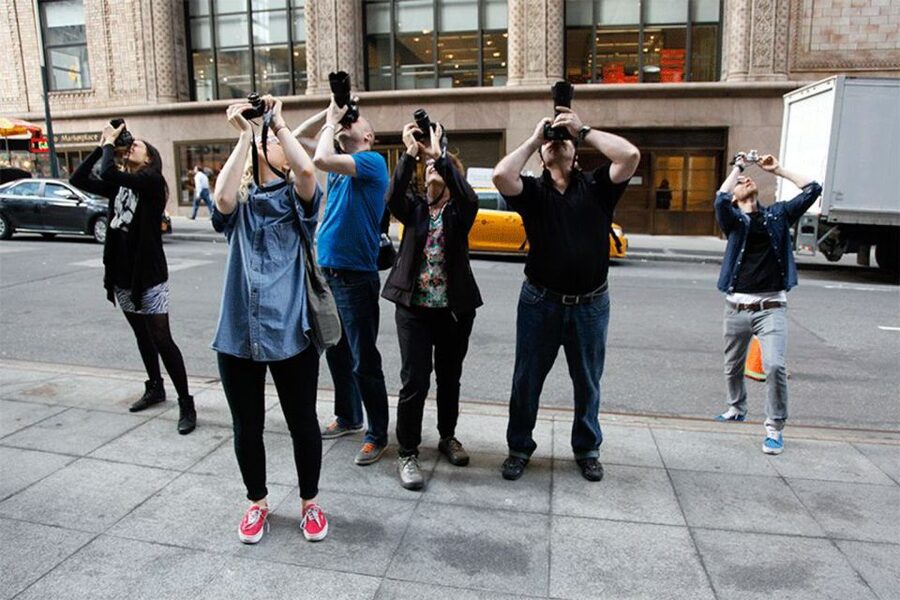
- A working photography lesson: You practice composition at real New York landmarks instead of only hearing general camera advice.
- A compact Manhattan route: The walk covers Rockefeller Center, Radio City Music Hall, the Empire State Building, and Central Park.
- Central Park skyline views: You get a chance to frame Manhattan from the park, not just photograph buildings from street level.
- Small-group instruction: Groups are limited to eight, and one session had only two people.
- Useful for every skill level: The workshop is designed for beginners as well as people who already use a camera with confidence.
- Bring weather-ready clothing: The tour runs outdoors and has continued in rainy conditions, so comfort matters.
Why this New York photo walk works
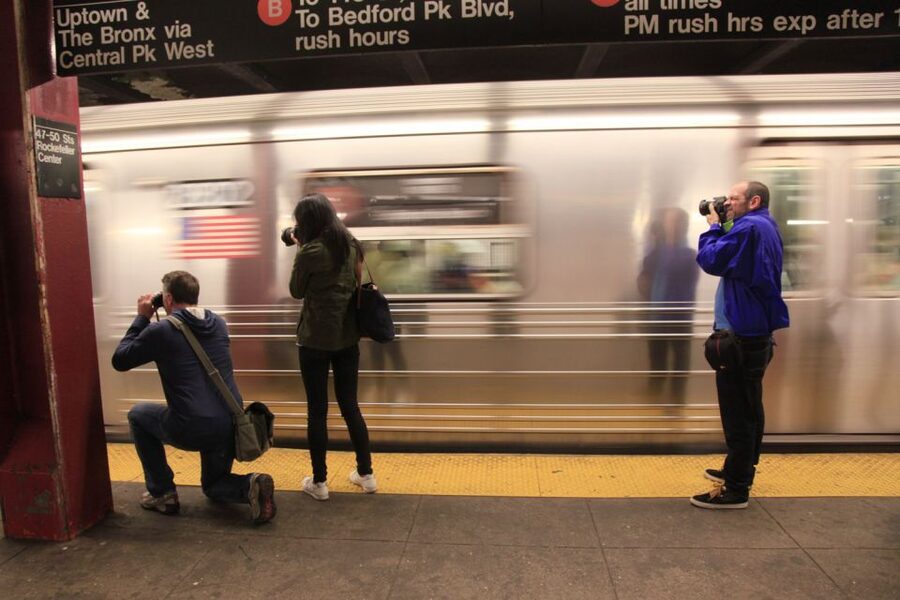
This is not simply a sightseeing walk with a camera in hand. The point is to make you look at Manhattan differently. A building that seems ordinary from one angle can become a strong photograph when you change your position, use its vertical lines, or frame it against another structure.
That makes the tour useful for people who have taken plenty of city snapshots but want better results. You will work with the shapes and angles of New York architecture, while the guide explains how to bring those forms to life in a picture.
The focus is practical. You are not sitting through a long classroom talk before seeing the city. You move through central Manhattan, stop at important locations, and apply the advice on the spot. The result is a sightseeing route with a clear purpose.
You do not need advanced camera skills. The activity is suitable for all levels, and the professional photographer serves as both instructor and guide. If you are new to manual settings, you can ask basic questions. If you already understand your camera, you can focus more on composition and building shots.
The $125 price is fair if you want instruction rather than simple guiding. You are paying for three hours of a professional photographer’s time, a small group, and a focused route through some of Manhattan’s most useful subjects. It is less attractive if you only want to see the sights, since you can visit these places without a guide.
More Photography Tours in New York City
- New York Icon Photography Tour led by a Local Photographer
★ 5.0 · 155 reviews - Central Park Photography Tour with Local Photographer
★ 5.0 · 85 reviews - Iconic New York City Photography Tour
★ 5.0 · 61 reviews
Starting at 34th and Madison
The meeting point at 34th and Madison places you near some of Manhattan’s most recognizable architecture. It is a practical starting area for a route that combines skyscrapers, famous public buildings, and park views.
Come ready to walk and work. This is described as a fast-paced tour, so it is not designed for a leisurely stroll with long breaks. You will likely be moving between locations, stopping to frame shots, then continuing before the city’s crowds, traffic, or changing light shifts the scene.
Wear comfortable shoes and dress for the weather. You are outside for much of the experience, and rain has not necessarily stopped the tour from running. A light rain jacket, a camera strap, and a charged battery are sensible preparations, though the supplied details do not specify equipment requirements.
The group limit matters here. Eight people is small enough for a guide to offer individual help, though the amount of personal attention will depend on the group. One session had only two participants, which allowed extra time to set up shots in quieter spots and move quickly through less useful areas.
Photographing Rockefeller Center and Radio City Music Hall
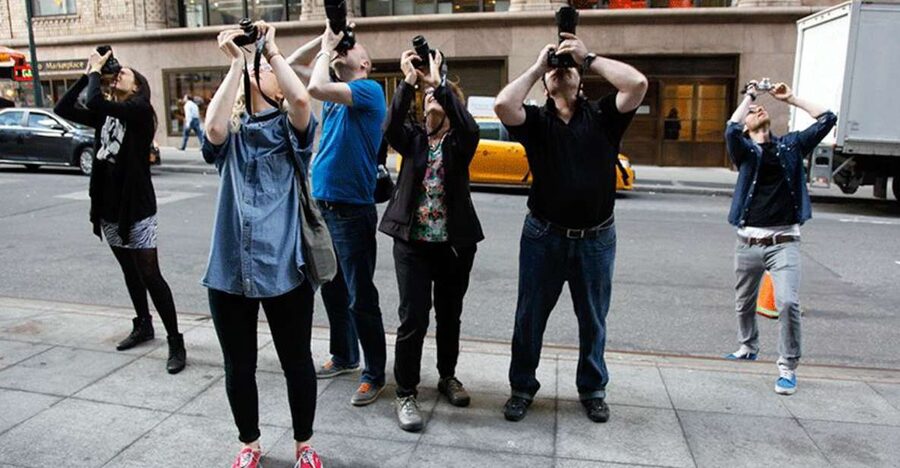
Rockefeller Center and Radio City Music Hall give the tour strong early subjects. These are not just famous names to check off a list. They offer broad architectural forms, repeated lines, dramatic verticals, and recognizable details that can help you practice composition.
The guide can show you how to avoid a flat, postcard-like result. Instead of photographing a building straight on every time, you may work with angles, leading lines, and the relationship between the structure and its surroundings. The supplied information does not promise particular camera settings, so expect guidance that responds to your skill level and the scene in front of you.
Radio City Music Hall adds another kind of subject. Its exterior is immediately identifiable, which makes it useful for learning how to create a clear image with a strong focal point. You can practice deciding what to include and what to leave out, an important skill when photographing a crowded city.
These stops also show why a guide can help. Manhattan offers endless visual material, but endless choice can make it hard to know where to stand or what to frame. A professional photographer can help you get past the first obvious shot.
Framing the Empire State Building
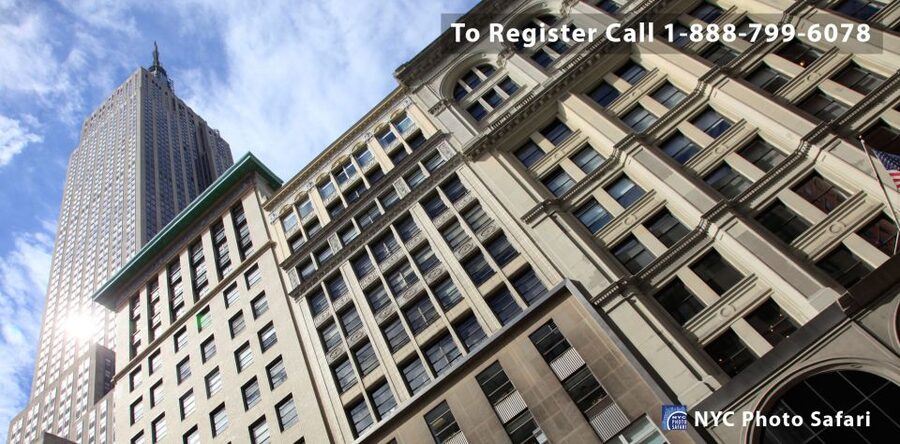
The Empire State Building is one of New York’s most familiar subjects, yet familiarity creates a challenge. A basic picture of the tower may be easy to take, but a more effective image depends on viewpoint, balance, and the surrounding lines.
This is where the workshop’s emphasis on angles becomes useful. You can learn to make a tall building feel more dramatic without relying on heavy editing. The guide can help you consider how much sky to include, how to use nearby structures, and how to keep vertical forms working for the picture.
The information provided does not promise access inside the Empire State Building or a visit to its observation deck. Treat this as an exterior photography stop, not an Empire State Building admission tour.
That distinction matters when you compare the price with other New York activities. You are paying for help photographing the building, not for entry tickets or a general historical tour. If your main goal is to go up the tower, you will need a separate ticket and a different plan.
More Photography Tours in the USA
- Manhattan Architecture Photography Tour
★ 5.0 · 24 reviews - Brooklyn Bridge at Night Photography Tour
★ 5.0 · 10 reviews - From Waikiki: Best of Oahu Photo Tour with Pickup
★ 4.9 · 274 reviews - The Ultimate LA and Hollywood Photo Tour
★ 5.0 · 233 reviews
Riding the subway between photo stops
The subway is part of the experience, not just a way to save time. Using it lets the tour connect several Manhattan areas within three hours, which would be difficult on foot alone.
The details say subway fare is included. However, one participant specifically found that the fare was not covered and advised arriving with a MetroCard or a contactless card. Because of that conflict, I would prepare to pay your own fare and treat any included subway coverage as something to confirm before departure.
This is a small cost, but it is worth planning for. You do not want to slow down a compact photography session while trying to sort out payment at a station. It also helps to remember that the subway adds stairs, platforms, crowds, and a quicker rhythm to the outing.
The subway connection is one reason this is not a relaxed, stop-and-start photo stroll. You should be comfortable changing pace and moving through public transit. If you prefer a slow tour with long periods at each sight, this may feel rushed.
Central Park and the Manhattan skyline
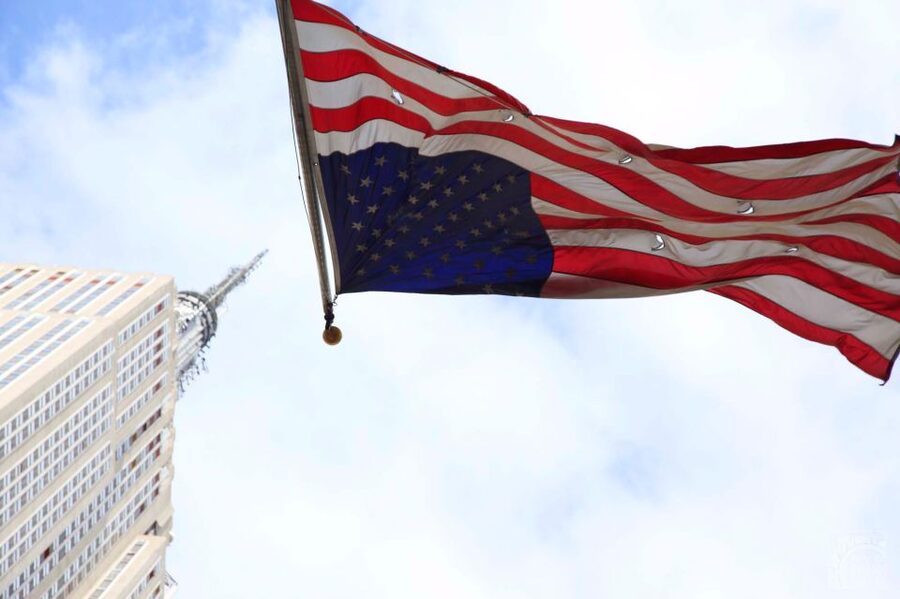
Central Park changes the visual character of the tour. After photographing dense city architecture, you get a chance to frame the Manhattan skyline from a more open setting.
The skyline stop is one of the most appealing parts of the route because it gives you distance. From the park, you can think about the relationship between buildings rather than photographing one tower at close range. The contrast between open park space and the city’s vertical forms creates a useful composition exercise.
The exact viewpoint and amount of time at Central Park are not specified. Do not book this expecting a long park walk or a full tour of Central Park. It is included as a photography setting within a three-hour route.
Light and weather will affect this part of the outing. A cloudy day can produce softer contrast, while rain may change reflections and mood. The tour has gone ahead in rainy weather, so you should be ready to work in less-than-perfect conditions rather than assuming a sunny skyline.
What the guide actually teaches
The strongest reason to book is the instruction. The tour focuses on practical ideas that can improve the way you approach a city scene:
- Use lines in buildings and streets to guide the eye.
- Change your angle instead of accepting the first viewpoint.
- Look for ways to make architecture feel three-dimensional.
- Set up a shot with more intention.
- Use Manhattan’s buildings and skyline as subjects at different distances.
The professional guide is expected to adjust the lesson to the group. Feedback about the guide named Zim describes a friendly photographer who explained technical ideas clearly and offered useful help. Since guide assignments can change, you should not assume Zim will lead every departure, but that session gives a helpful picture of the instruction style.
You can also expect the guide to tell you when a location is not producing a worthwhile image. One small group had time to work carefully on strong shots and move quickly through areas that did not offer much. That is good use of three hours. Photography tours are often improved by knowing when to stop chasing a weak composition.
You will not leave with a camera or printed photographs. You are responsible for your own equipment, and camera rental is not included. Bring the camera you understand best. A phone may be suitable for basic composition practice, but the activity is presented as a photography workshop rather than a phone-only tour.
Group size, pace, and comfort
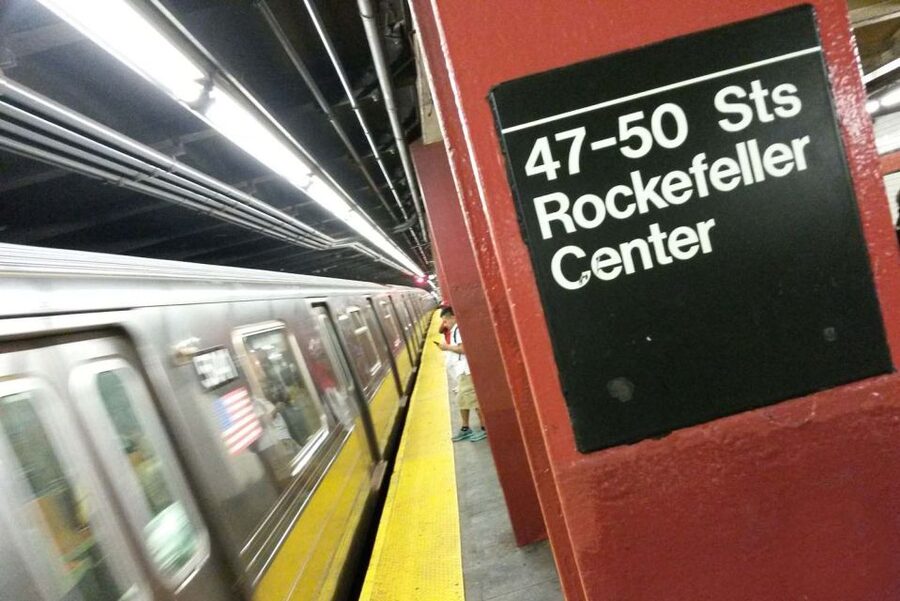
The maximum group size is eight. That is a meaningful limit for a photography lesson because everyone needs room to stand, frame a picture, and ask questions without blocking the whole group.
Still, eight people can feel busy in a crowded Manhattan setting. You will need to stay close to the guide and be ready to move when the group moves. The fast pace may suit you if you want to cover several landmarks in one morning or afternoon. It may frustrate you if you need long stretches of quiet to work on one image.
The tour is offered in English with a live guide. Gratuities are not included, so budget separately if you want to tip the photographer.
The accessibility information needs careful attention. One part of the activity details describes the tour as wheelchair accessible, but the important information says it is not accessible because of subway use, and the activity is listed as unsuitable for wheelchair users. The subway requirement is the more specific warning. If accessibility affects your booking, confirm directly before paying.
What $125 gets you
At $125 per person, this is a premium walking tour, but not an unreasonable photography class. The value comes from combining three things: a professional instructor, a carefully chosen set of Manhattan subjects, and a group capped at eight.
You may get more from the price if you are actively trying to improve. A beginner can learn how to approach architecture, while an experienced photographer can use the route to refine composition and find new ways to shoot familiar places.
The value drops if you do not want instruction. You can see Rockefeller Center, Radio City Music Hall, the Empire State Building, and Central Park on your own for far less. The fee makes sense when the guide’s advice helps you produce images you would not have found independently.
Your other costs are limited but worth noting. Meals are not included, transportation beyond the stated subway arrangement is not included, and camera rental is not included. Because the subway fare details conflict, bring a payment method for the train.
Who should book this experience
I would recommend this tour to a visitor who wants to combine sightseeing with a hands-on creative activity. It is especially useful for first-time photographers who need help turning famous places into stronger images.
It also suits a photographer who already knows the basics but wants a local guide to point out better angles. The small group can make it easier to receive direct feedback, especially if the departure has only a few participants.
You should think twice if you want a slow historical tour, an indoor activity, or a visit inside the Empire State Building. You should also reconsider if you dislike public transit or find fast-paced walking tiring.
Bring your own camera, dress for changing weather, and arrive ready to keep moving. You will get more from the session if you treat each landmark as a short lesson rather than waiting for the perfect postcard view.
Should you book the New York photography tour?
Book it if you want to leave Manhattan with better photography habits, not just a set of familiar snapshots. The strongest features are the professional instruction, the small group, and the mix of close-up architecture with a Central Park skyline view.
Skip it if your priority is simply seeing the sights at your own pace. At $125, the tour earns its price through teaching, composition help, and efficient movement between locations. Confirm the subway fare details, prepare for the pace, and remember that the route is not wheelchair accessible because of the subway.
FAQ
How long is the New York photography tour?
The tour lasts three hours.
Where does the tour meet?
The meeting point is at 34th and Madison in New York City.
Which landmarks are included?
The route includes Rockefeller Center, Radio City Music Hall, the Empire State Building, and photography locations in Central Park.
Is the tour suitable for beginners?
Yes. The workshop is appropriate for all levels of photographic experience.
Is camera rental included?
No. Camera rental is not included, so you need to bring your own camera.
Is the tour wheelchair accessible?
No. Although one activity detail describes it as accessible, the specific accessibility information says it is not wheelchair accessible because the route uses the subway.
More 3-Hour Experiences in New York City
- 3 Hour Sunrise Photo Tour with Malasada
★ 5.0 · 81 reviews - Aurora Photography Tour 3 HOURS
★ 5.0 · 74 reviews - 3 Hours Private Original Venice Photo Walk
★ 5.0 · 57 reviews - From Kanab: 3-Hour Peek-a-Boo Slot Canyon Hiking/Photo Tour
★ 4.9 · 25 reviews
Just added around New York City
- Brooklyn Bridge at Night Photography Tour★ 5.0 · 10 reviews
- Brooklyn Bridge Dumbo Walking Tour with Photography Experience★ 5.0 · 12 reviews
- New York Flying-dress photoshoot with iconic NYC views★ 4.5 · 12 reviews
- Photoshoot Tour in New York City★ 3.5 · 3 reviews
- Bridges of New York: Professional Photoshoot★ 5.0 · 3 reviews
- Private Professional Vacation Photoshoot in New York City★ 5.0 · 2 reviews
- Brooklyn Bridge & Neighborhoods – 2-Hour Photo Shoot Tour★ 5.0 · 4 reviews
- NYC: Surprise Proposal Photoshoot – Capture the Yes Forever★ 5.0 · 13 reviews
Photography Tours, compared.


Rhodes: E-bike Highlights Sunset or Morning Photo Tour
Read our review →