
REVIEW · LONDON
Ultimate introduction to photography in Central London
Central London becomes your classroom on this hands-on photography workshop. Instead of sitting through a long technical talk, you learn camera settings while photographing the London Eye, graffiti-covered Leake Street Arches, South Bank skate park, and the Thames at evening light. Matthew Williams-Ellis keeps the group to eight, which gives you room to ask questions and practise.
I like two things here. First, the route gives you several very different subjects: fast action, bold street art, famous architecture, and changing evening light. Second, Matthew teaches the thinking behind a photograph, not just which button to press. The main consideration is price: at $232.25, this is a serious spend for a half-day class, and poor weather can lead to a change of date or a full refund.
Key points to know before booking
- A small group capped at eight: You get more chances to ask about your own camera, settings, and mistakes.
- Practical lessons, not classroom theory: ISO, aperture, shutter speed, shooting modes, and focus are taught while you are taking pictures.
- A varied South Bank route: The London Eye, Waterloo’s Leake Street Arches, the skate park, St. Paul’s Cathedral, and the Thames each present a different photo problem.
- Useful for phones as well as cameras: The teaching has helped people use phone cameras with more confidence, although the course focus is on understanding photographic control.
- A strong evening finish: Slow shutter speeds lead into sunset, blue hour, or night photography beside the river.
- A real beginner-friendly pace: The teaching can start with basic camera settings and still offer more advanced ideas for people who already know the basics.
Why this London photography class works
Many photography lessons explain ISO, aperture, and shutter speed as separate terms. That is useful for a few minutes, then hard to remember once you are standing in front of a real subject. This workshop puts those controls to work straight away.
You might begin by learning how the three settings affect brightness, motion, and focus. Then you use them on actual London scenes. A moving skater creates a different problem from a still cathedral. A sunset needs a different approach from a bright afternoon street. That repeated change of subject helps the technical ideas make sense.
Matthew’s teaching style is another important part of the experience. He is described as patient, approachable, and gentle in the way he explains difficult points. That matters if you are new to manual settings, or if you have owned a digital SLR for years but still rely on auto mode.
I also like the emphasis on photographic choices. You are not simply told to point the camera at a landmark. You are encouraged to consider framing, timing, light, movement, and the story a picture might tell. Those habits remain useful long after your London photos are stored away.
The small group helps. With no more than eight people, Matthew can deal with different cameras and skill levels. A parent and teenage child can learn together, as can a group of adults with very different levels of experience. If you are nervous about asking basic questions, the format should feel less exposed than a large class.
A few more photo experiences around London worth a look
- London: Private Photoshoot with Video Clip Option
★ 4.8 · 182 reviews - Professional Photoshoot in London Photographer
★ 5.0 · 102 reviews - Private landmarks photoshoot for families and couples
★ 5.0 · 92 reviews
Starting at the London Eye
The meeting point is the Starbucks on Belvedere Road, near the London Eye. This puts you in the South Bank area from the start, surrounded by strong subjects and plenty of visual variety.
The London Eye is more than a famous backdrop. Its circular structure, moving capsules, reflections, and position beside the Thames give you several ways to practise composition. You can work on lines, balance, scale, and the relationship between a large object and the surrounding city.
This opening stop should also help you get comfortable with your camera. You may work through shooting modes, focusing, aperture, ISO, and shutter speed before the route becomes more demanding. If you normally use auto mode, expect the early part of the workshop to feel technical. That is the point. You are building enough control to make decisions later.
I would arrive ready to walk and ready to handle a camera for several hours. The tour lasts about five hours and 30 minutes, and a moderate level of physical fitness is required. The information does not give a detailed walking distance, so wear sensible shoes rather than treating this as a short stop between attractions.
The London Eye area can also be a busy place. That makes it a useful setting for learning to work around people, distractions, and changing light, but it may not offer the calmest start. If you prefer quiet instruction, stay close to Matthew and use the small group to ask for help when needed.
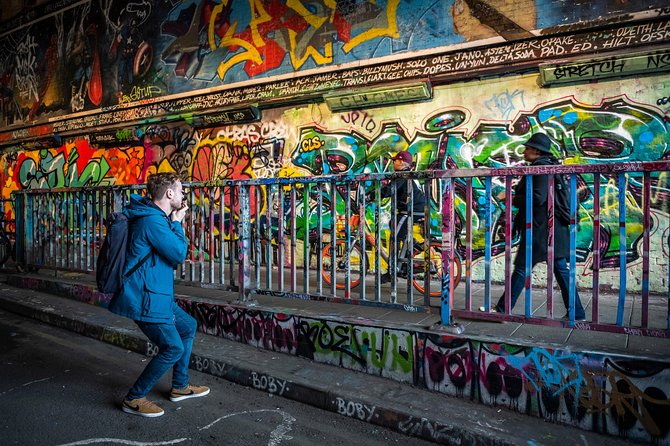
Photographing Leake Street Arches
From the London Eye area, the route includes the Waterloo Graffiti tunnels, usually known as Leake Street Arches. This is a sharp change from polished riverside landmarks. The arches are covered with graffiti, giving you strong colour, texture, layers, and lines.
Street art creates a good test of composition because a photograph can become confused very quickly. You need to decide what the main subject is, how much of the wall to include, and how to use perspective. Matthew’s focus on creating rather than simply taking pictures is especially useful here.
This stop may also help you understand how a camera sees light and colour differently from your eye. A wall that looks evenly lit can produce bright and dark patches in a photograph. A wide scene may lose the detail that first caught your attention. Changing your position, focal length, or framing can make a large difference.
Leake Street is also a good place to experiment. You are not limited to one formal view of a landmark. You can look for details, repeated shapes, people in the space, and wider scenes that show the full tunnel. The setting encourages you to make choices rather than record a standard postcard view.
Because the course is practical, you should expect to stop often, take pictures, check results, and adjust settings. That hands-on rhythm is valuable, but it also means the workshop may feel less like a sightseeing walk. You are there to learn, not to cover a long list of attractions.
Putting movement to work at South Bank skate park
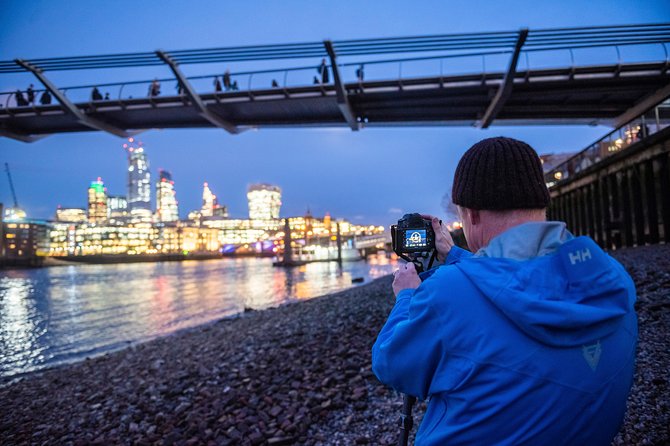
The skate park adds motion to the day. Here, shutter speed becomes a tool you can see clearly in your own images.
A fast shutter speed can help freeze movement. A slower shutter speed can show motion as a blur. Neither approach is automatically better. The useful lesson is learning to select a result on purpose, depending on the picture you want.
This is one of the strongest parts of the route for beginners because the subject gives immediate feedback. If the shutter speed is too slow for a sharp action shot, you will see it. If the timing works, you will understand why. That makes an abstract setting suddenly practical.
You may also work on anticipating the decisive moment, placing the subject within the frame, and leaving enough room for movement. These ideas are useful far beyond a skate park. They apply to street photography, sports, children playing, and many travel scenes.
The skate park can be visually busy, so do not expect every frame to work. That is part of the lesson. A good teacher can help you see why one composition is stronger than another, rather than simply telling you to keep trying. Matthew’s approach is reported to include plenty of practice and advice without making the class feel like a lecture.
If you are using a phone, you may not have the same manual control as someone with a dedicated camera. Still, the ideas about timing, framing, and choosing a subject remain useful. The workshop has worked with people who wanted to make better use of phone cameras, including a group of retirees with different levels of experience.
Same place, a different kind of shoot:
- London: Private Landmark Tour with Professional Photographer
★ 4.7 · 91 reviews - Professional Private Photoshoot in London
★ 5.0 · 63 reviews - London: Private travel vacation photoshoot -Romantic Special
★ 4.7 · 50 reviews - Private Tour: Night Photography Tour in London
★ 5.0 · 48 reviews
St. Paul’s Cathedral and the wider city view
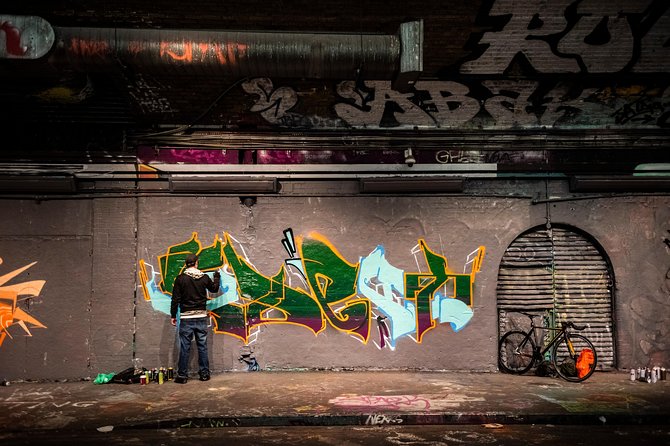
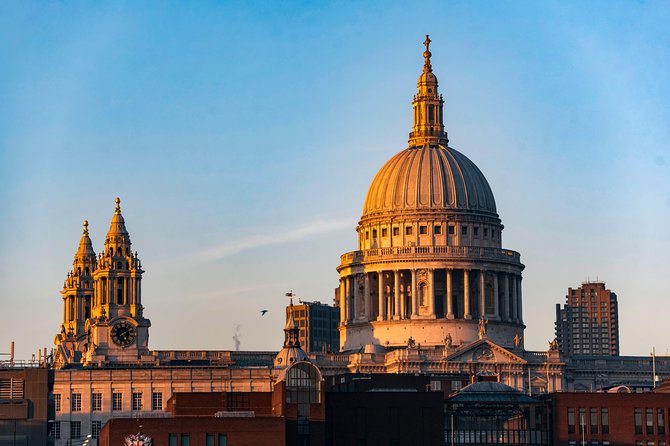
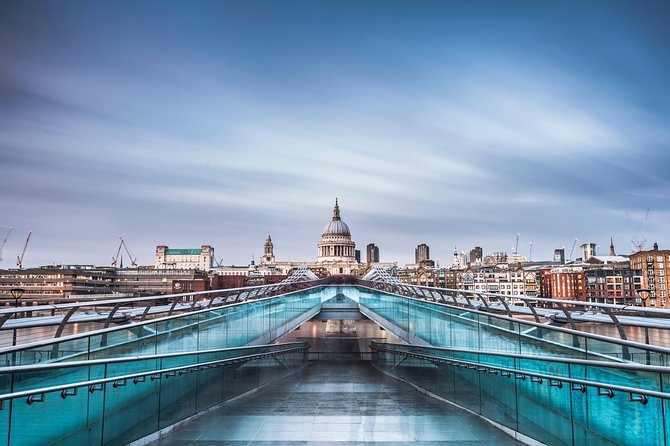
St. Paul’s Cathedral is another listed stop, and it shifts the lesson toward architecture and structure. Its scale encourages you to think about proportion, leading lines, and how much surrounding space belongs in the image.
A large building can be difficult to photograph well. A straight-on picture may feel flat. A wider frame can include too much empty space. The angle, distance, and position of the photographer all change the result. This is where composition lessons become as important as camera settings.
The route is useful because it does not ask you to repeat one type of picture all day. After graffiti and movement, St. Paul’s gives you a steadier subject. You can slow down and consider the frame before pressing the shutter.
The supplied details do not promise interior access to the cathedral, so treat this as an exterior photography stop. The course is about photographing London in the field, not touring the cathedral as a sightseeing attraction.
This part may be especially useful if you are preparing for a future trip. A camera manual can explain aperture and focus, but it cannot tell you how to approach every building, street, or landmark. Learning to assess a scene is the skill that travels with you.
Slow shutter speeds beside the Thames
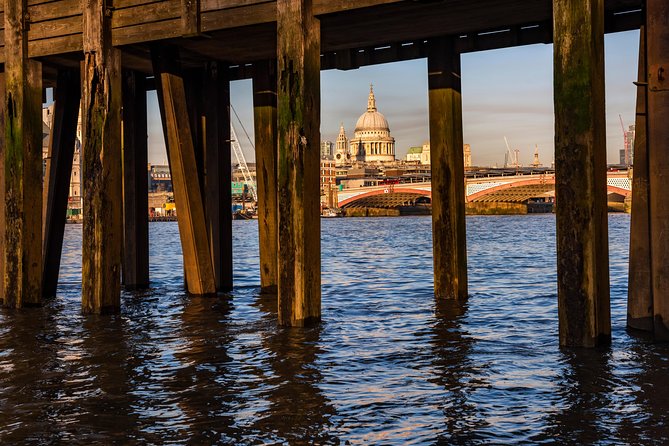
The final part of the workshop moves toward the river and the changing evening light. This is where the day’s earlier lessons come together.
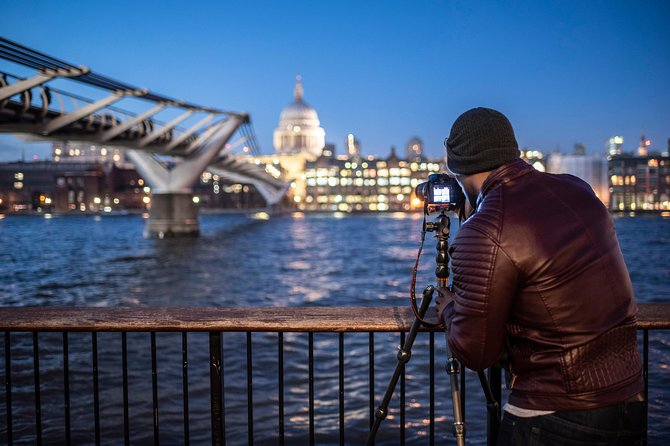
Slow shutter speeds can create softer movement and a different mood. They can also make a photo look blurred if the camera is not held or supported well. Matthew uses this stage to discuss technique, composition, and photographic storytelling rather than treating slow shutter speed as a single trick.
The timing is one of the most appealing parts of the experience. The class may finish with a sunset, blue-hour, or night shoot overlooking the Thames. Each option gives you a different kind of light. Sunset can bring colour and contrast. Blue hour gives the sky and city lights a balanced look. Night photography asks you to pay closer attention to exposure and movement.
The exact finish depends on conditions, and the weather requirement is important. This is an outdoor experience, so rain or poor weather can affect the final shoot or lead to a different date. If the evening light is the main reason you are booking, keep your schedule flexible.
I like the way this ending gives the workshop a clear purpose. You do not simply learn settings in isolation. You use them to make a set of pictures with different moods, from energetic skateboarding to slower riverside scenes.
What you can realistically learn in five and a half hours
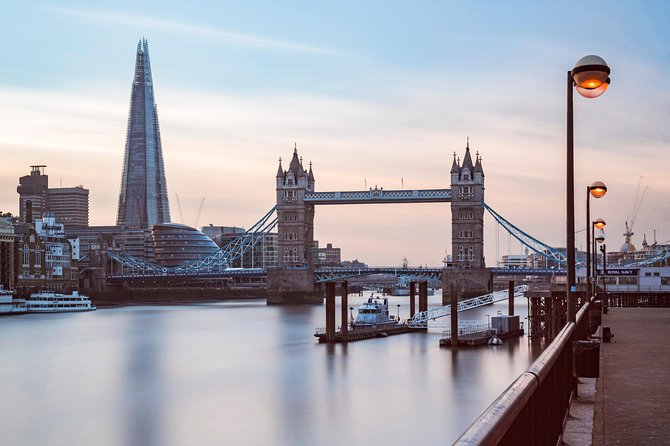
You will not become an expert photographer in one afternoon. You can, however, leave with a better grasp of the controls that often stop beginners from progressing.
The core topics include:
- ISO and how it affects sensitivity and image quality
- Aperture and its effect on light and focus
- Shutter speed and its control of movement
- Shooting modes and when to move beyond auto
- Focusing choices
- Composition and framing
- Slow shutter photography
- Visual storytelling
- Developing a more proactive photographic mindset
The biggest gain may be confidence. Several course participants began with little understanding of manual settings, including people who had owned their cameras for years. The teaching can start with the very basics, then move toward more demanding subjects and techniques.
You should bring questions about your own camera. The information does not state that equipment is supplied, so do not assume a camera will be available for you. The course can work with different levels and has also suited phone users, but you should confirm your equipment needs before booking if you are unsure.
A notebook could be useful. One participant used a notebook to record settings and tips for an upcoming northern-lights trip. That is a smart way to get more value from the day. Write down not only which setting worked, but why it worked.
Who gets the best value from the $232.25 price?
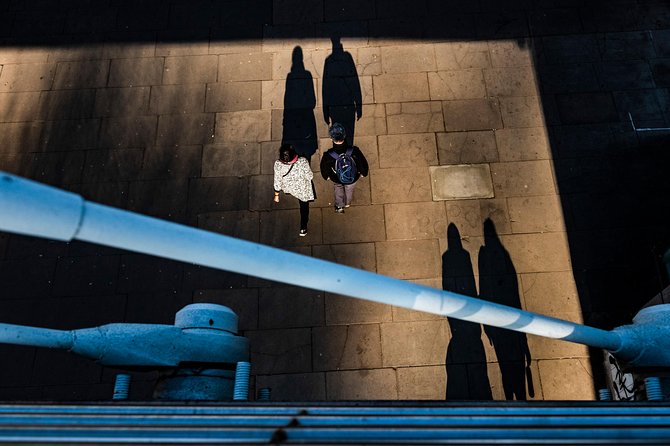
At $232.25 per person, this is not a casual sightseeing activity. The cost makes most sense if you want personal instruction and a structured way to improve.
The group limit of eight is important when judging the price. You are paying for several hours with a professional photographer, practice at multiple locations, and a chance to receive help with your own camera. A private lesson would normally offer more individual attention, but this small-group format can be a good middle ground.
I would consider it a strong choice for:
- A beginner who wants to leave auto mode
- Someone who has just bought a camera
- A parent and teenager learning together
- A photographer who understands settings but needs help with composition
- A phone user who wants to make more deliberate images
- A visitor who wants a photography-led introduction to South Bank
It may be less suitable if you mainly want to see London landmarks quickly. The route covers several places, but the pace is shaped by teaching and practice. You will stop to adjust settings and review ideas, so this is not the fastest way to sightsee.
It may also be a poor fit if you dislike outdoor activity, changing weather, or walking between locations. The experience requires moderate fitness, is weather dependent, and ends back at the meeting point rather than at a separate attraction.
Practical details for a smoother day
The meeting point is Starbucks on Belvedere Road, London SE1 7GQ. The activity ends back at the same meeting point. It is near public transportation, which helps with arrival and departure.
The mobile ticket is convenient, and confirmation is sent within 48 hours of booking, subject to availability. Service animals are allowed. You should plan for outdoor conditions and bring whatever camera, phone, batteries, and storage you normally need, although the supplied information does not specify an equipment list.
The experience is offered in English. The small group is limited to eight people, which should help Matthew adapt explanations to different levels. If you are booking for a mixed group, that matters. You do not all need to be at the same stage for the class to be useful.
Free cancellation is available up to 24 hours before the start time for a full refund. Changes or cancellations inside that period are not accepted for a refund. If poor weather causes the activity to be canceled, you are offered another date or a full refund.
Should you book this photography workshop?
I would book it if you want to understand why your camera produces certain results, not just collect a few London snapshots. The route gives you genuine variety, and Matthew’s patient teaching style is a strong fit for beginners who feel lost among ISO, f-stops, and shutter speeds.
The best reason to choose it is the combination of technical instruction and visual judgement. You practise on action, street art, architecture, and evening light, then carry those lessons into future trips. The strongest caution is the price, especially if you already use manual settings confidently.
For a first serious photography class in London, the small group, practical route, and final Thames shoot make the cost easier to justify. If you want a relaxed sightseeing tour with only occasional photo tips, spend your money elsewhere. If you want to leave with more control, better habits, and a notebook of settings to keep practising, this is a sensible choice.
FAQ
Where does the photography workshop start?
It starts at Starbucks on Belvedere Road, London SE1 7GQ, near the London Eye.
Where does the activity finish?
The experience ends back at the meeting point.
How long does the workshop last?
It lasts approximately five hours and 30 minutes.
How many people can join the group?
The group has a maximum of eight participants.
Is the workshop suitable for beginners?
Yes. The teaching covers basic camera settings, and it can begin with the fundamentals for people who have never used manual mode. It has also suited people with more experience who want to improve their technique.
What happens if poor weather cancels the experience?
You are offered a different date or a full refund if the activity is canceled because of poor weather.
Just added around London
- Wildlife Photography Workshop in Richmond Park in London★ 4.5 · 5 reviews
- Private Tour: Photography Walking Tour from Trafalgar Square to Covent Garden★ 5.0 · 5 reviews
- Street Photography Workshops in London★ 5.0 · 6 reviews
- Shoreditch Street Art Private Photography Tour including Brick Lane★ 5.0 · 5 reviews
- South Bank Photography Tour – Small Group★ 5.0 · 2 reviews
- Private Landmark Photoshoot★ 5.0 · 27 reviews
- PRIVATE PHOTOSHOOT in London★ 5.0 · 6 reviews
- Private Tour: Personal Travel Photographer Tour in London★ 4.5 · 27 reviews
London Photo Tours & Photoshoots, compared.
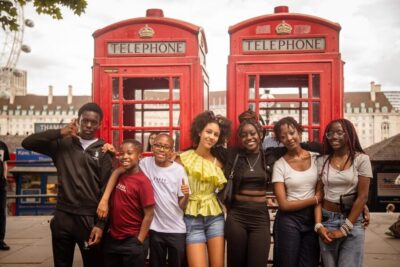
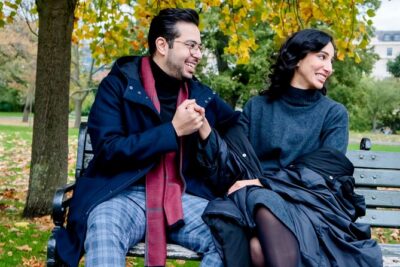
Professional Photoshoot in London Photographer
Read our review →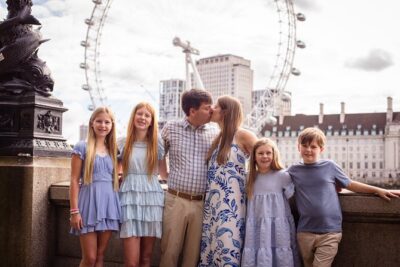
Browse the lists this tour appears in