REVIEW · KYOTO
Kyoto Photography Masterclass – Private Photography Lesson
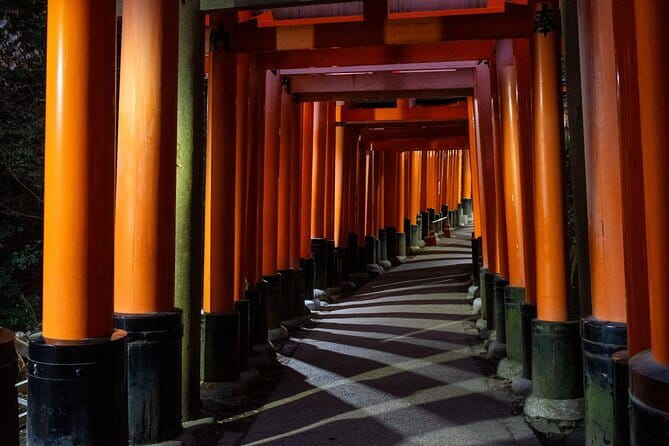
Kyoto is a fine place to learn photography because the city gives you plenty to work with in a small area: wooden machiya houses, glowing lanterns, temple roofs, narrow lanes, and the sharp contrast between old Japan and modern life. This private lesson takes you through Gion, Pontocho, and eastern Kyoto, with a professional photographer showing you where to stand, what to notice, and how to set up the shot.
I like two things right away. First, the lesson is built around your pictures, not a fixed lecture, so you can work at a pace that fits your skill level. Second, the night option has real practical value: Irven has supplied a tripod, helped adjust settings, and reviewed shots step by step so the photographer could keep improving each frame.
The main drawback is the price: $170 per person for about three hours is a serious outlay, especially if you already know your camera well. You also need to bring your own camera, and the exact route or photography focus may matter more to you than the sightseeing stops themselves.
Key points to know before booking
- Private coaching in Kyoto: Only your group participates, so the guide can adjust the lesson to your camera and ability.
- Eight atmospheric stops: The route includes Gion, Pontocho, Yasaka Shrine, Hokan-ji Temple, Ninenzaka, and Kiyomizudera.
- Strong night-photography focus: You can practice long exposure, low-light settings, and composing with lanterns and temple illumination.
- Tripod support is available: Request one in advance if you need help keeping the camera steady after dark.
- A guide who teaches through review: Irven has used shot-by-shot checking to help refine settings and composition during the session.
- Flexible booking terms: You can cancel for a full refund up to 24 hours before the start time.
What this Kyoto photography lesson is really for
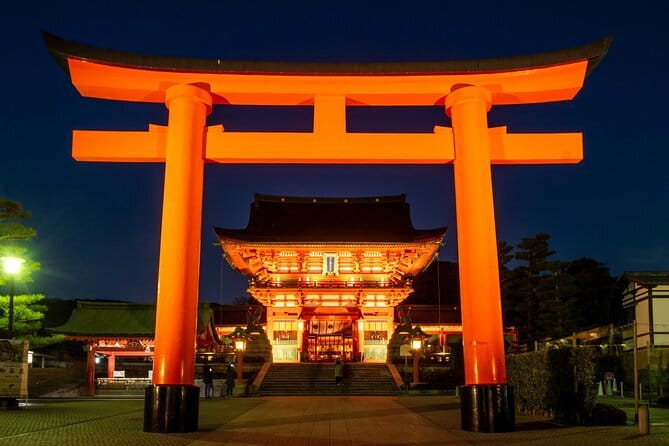
This is not simply a guided walk with time to take a few souvenir pictures. It is a three-hour private photography class that happens to move through some of Kyoto’s most photogenic streets.
Your guide leads you to useful angles and lighting conditions, then helps you make better use of them. That can mean changing shutter speed, working on composition, noticing patterns in architecture, or finding a cleaner way to frame a crowded street. The goal is not just to bring home one lucky image. It is to give you methods you can use again.
The private format matters. If you are new to photography, you can spend more time on basic camera settings without slowing down a group. If you already understand exposure, you can ask for more focused help with night work, composition, or long exposure. You will not have to follow the interests or pace of strangers.
The tour is offered as a street-focused outing or a night-focused outing. The street version emphasizes Kyoto’s historic lanes, wooden houses, textures, patterns, architecture, and the meeting of traditional and modern life. The night version turns the same city into a quieter photographic subject, using lanterns and artificial light to teach a different set of skills.
The available information does not set out separate departure times for each version, so confirm the selected option when booking. That detail matters in Kyoto, where the quality of the light can shape the entire lesson.
More Photography Workshops in Japan
- Tokyo Photography Masterclass – Private Photography Lesson
★ 5.0 · 25 reviews - Blade Runner photo workshop in Shibuya with Laurence Bouchard
★ 5.0 · 15 reviews - Tokyo: Photography Masterclass – Private Photo Lesson
★ 5.0 · 7 reviews
Starting by the Izumo-no-Okuni statue
The meeting point is the Statue of Izumo-no-Okuni at Kawabatacho in Kyoto’s Higashiyama Ward. You return to this same point at the end.
This is a practical starting place for a route through Gion and the eastern side of the city. You should arrive ready to walk and with your camera accessible. A lesson loses valuable time if you are still unpacking equipment when the first good angle appears.
The tour includes a local guide, a professional photographer guide, and a licensed English-speaking in-person local guide. The most useful part of that combination is the local sense of place. A photography teacher can explain settings, but local knowledge helps you find the streets, corners, and views that give those settings something worthwhile to capture.
Gion: wooden houses and careful street photography
Gion is the natural opening chapter. Its traditional wooden machiya houses give you strong lines, repeated forms, textured walls, narrow lanes, and a clear sense of Kyoto’s older character.
This is a good place to work on composition rather than simply pointing at famous buildings. You can look for the way a doorway frames a lane, how a row of houses creates rhythm, or how a person walking through the scene gives the picture scale. Your guide can help you decide what belongs in the frame and what distracts from it.
Gion also calls for tact. It is a living district, not a stage set. A private lesson can help you slow down and photograph with more care, especially when working around residents and businesses. The strength of this stop is its atmosphere and detail. The limitation is that a familiar street can tempt you into taking the same picture everyone else takes, so your guide’s advice on angles is important.
Pontocho District: narrow lanes and night light
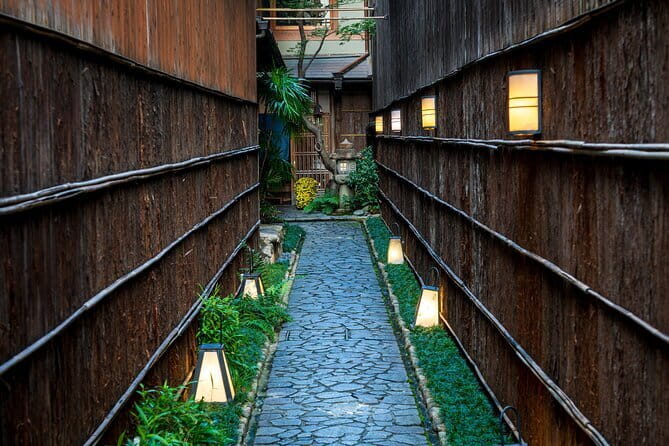
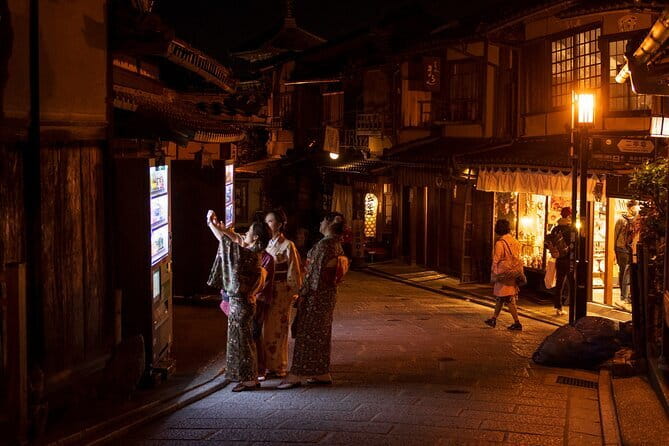
Pontocho adds a different type of street scene. Its narrow alley and traditional façades make a strong subject after dark, when lantern light gives the buildings shape and helps create a more intimate mood.
This is one of the better places to practice low-light composition. You can work on balancing bright signs, darker passageways, and small pools of warm light. A guide can help you decide when to raise the ISO, slow the shutter, or hold the camera steady for a cleaner image.
Pontocho is also a useful reminder that night photography is not only about making a scene bright. Dark areas create mood and help direct the eye. The lesson’s value here comes from learning what to leave in shadow.
The lane is narrow, so movement and positioning may be limited. That is not necessarily a problem, but you should not expect an open space where you can set up a tripod wherever you like. A request for tripod support is best made before the tour.
More Private Photoshoots in Japan
- Kyoto: Private Photoshoot Service
★ 5.0 · 158 reviews - Your Private Vacation Photography Session In Kyoto
★ 5.0 · 110 reviews - Kyoto: Private Gion District Photoshoot Experience
★ 5.0 · 79 reviews - Private Photoshoot Experience in Kyoto ( Gion )
★ 5.0 · 61 reviews
Gion Corner and Minamiza Theater: cultural framing
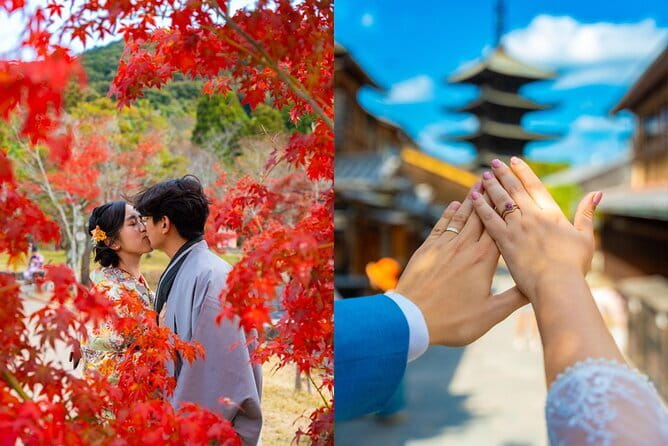
Gion Corner and Minamiza Theater bring cultural and architectural subjects into the route. These stops give you a chance to photograph more than lanes and houses, with façades and public spaces offering broader shapes and stronger lines.
Minamiza Theater is especially useful for architectural framing. You can work with symmetry, repeating details, signage, and the contrast between a large façade and the surrounding street. Gion Corner helps keep the route tied to Kyoto’s traditional performing-arts district.
These stops may be more valuable for the lesson than for the number of minutes spent at each place. Your guide can show you how to use a building as a background, how to straighten vertical lines, or how to avoid letting a busy setting overpower the main subject.
The itinerary lists both stops, but it does not give a precise time allowance for each one. If a particular building is your main reason for booking, ask how much attention the selected route gives it.
Yasaka Shrine: structure, color, and changing light
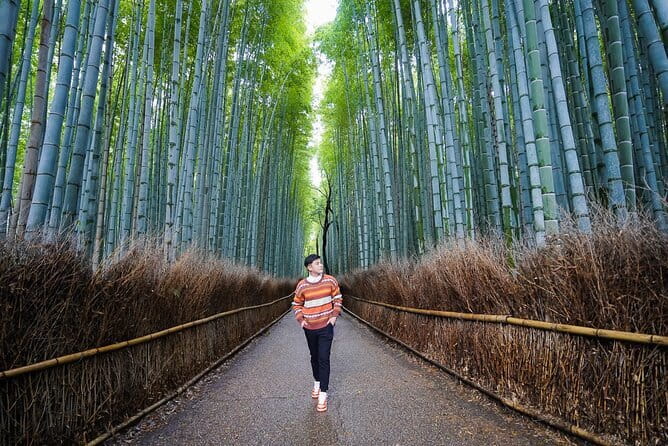
Yasaka Shrine offers a shift from tight urban lanes to a more open religious setting. Shrine gates, pathways, lanterns, and architectural details give you new ways to think about lines and balance.
During a street session, this is a useful place to compare different kinds of light. You can look at how daylight falls across wood and stone, or how the composition changes when a person moves through the frame. During a night session, illuminated shrine features can provide bright focal points against darker surroundings.
The stop also helps you move beyond a single style of Kyoto picture. Instead of photographing only a famous building head-on, you can work with layers, foreground shapes, and partial views. Your guide’s job is to help turn a location into a photograph with structure.
Hokan-ji Temple and the Yasaka Pagoda view
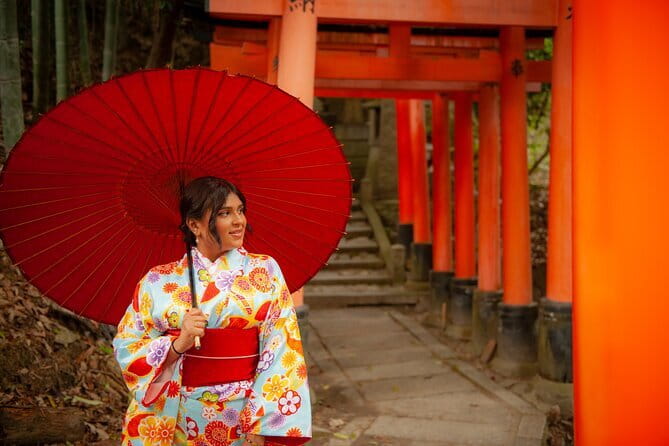
Hokan-ji Temple, often associated with the familiar Yasaka Pagoda view, is one of the route’s strongest architectural subjects. The pagoda and surrounding streets give you a chance to work with height, perspective, and the relationship between a landmark and its neighborhood.
This is where lens choice and position can make a large difference. A wide view may include the lane and nearby buildings, while a tighter composition can emphasize the pagoda’s form. Your guide can help you test different framing choices rather than settling for the first obvious picture.
At night, the temple area can take on a more dramatic quality under artificial light. That makes it a good setting for a long-exposure lesson, provided the light and access conditions cooperate. Keep in mind that a famous view is popular for a reason, so the challenge is to find a personal composition rather than simply record the landmark.
Ninenzaka: texture, slope, and the human scale
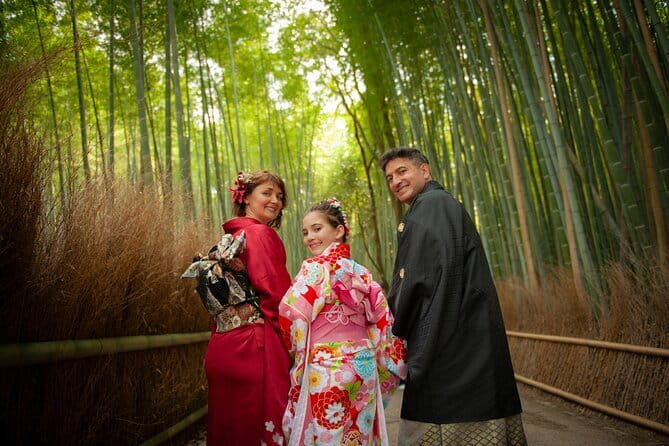
Koju Ninenzaka, listed as part of the route, brings you into one of Kyoto’s most recognizable historic street settings. The sloping lane, traditional buildings, paving, and changing sightlines give you plenty of texture and depth.
This is a strong location for learning to photograph a street as a complete scene. You can use the slope as a leading line, frame a building at the end of the lane, or focus on small details in wood, stone, and shopfronts. The setting gives you a chance to move between wide compositions and close details without changing districts.
The drawback is that a well-known street can be visually busy. People, signs, and storefronts may compete with the main subject. That is exactly where private instruction can help. You can ask your guide to show you how to simplify the frame, wait for a cleaner moment, or use people as part of the composition instead of treating them as a nuisance.
Kiyomizudera after dark
Kiyomizudera Temple is the route’s grand finish, especially for the night version. The temple’s illuminated structure against the evening sky gives you a large subject with strong contrast and a clear sense of place.
Night photography becomes more demanding here. You may need to make decisions about shutter speed, ISO, aperture, focus, and camera stability. A tripod can help with long exposure, and the guide can show you how to review the result and adjust rather than accepting the first attempt.
That review process is one of the most useful details of the lesson. You are not only told which setting to use. You can look at the picture, identify what went wrong or what could improve, then reset and try again. This turns the last stop into a working class, not just a final photo opportunity.
The temple is also a fitting end because it lets you bring together the skills practiced earlier: composing with architecture, using light as part of the subject, and leaving enough darkness to preserve mood. Access and illumination can vary, so treat the stop as a photographic opportunity rather than a guarantee of one exact view.
Why the night option deserves special attention
The night session is the more technically focused choice. Kyoto’s lanterns and modern lights provide natural subjects for long exposure, but low light also exposes weak technique quickly. Blurred images, noisy shadows, blown-out highlights, and missed focus are common problems when you are working alone.
The teaching style described for Irven’s sessions is practical. You can review your shots during the lesson, reset the camera, and try again. A tripod can be provided upon request, which is useful if you do not own one or do not want to carry one around Kyoto.
I would choose the night option if you specifically want to improve low-light work. It is also a good fit if your daytime sightseeing schedule is full. I would choose the street option if your main aim is composition, architecture, and learning how to find strong pictures in ordinary city scenes.
Is $170 per person a fair price?
At $170 per person, this is not a bargain sightseeing walk. You are paying for a private lesson, a professional photographer guide, local route knowledge, and the chance to shape the session around your own ability.
The value is strongest when you will use the instruction. If you are carrying a camera you rarely understand, the three hours can help you stop relying on automatic settings. If you already take strong photographs and only want someone to lead you to famous Kyoto views, the price may feel harder to justify.
Group discounts are available, which can improve the cost for a small party. Since only your group participates, you also avoid the compromise of a large class moving at someone else’s pace. Still, each person is priced at $170, so compare the total carefully before booking.
The tour is booked, on average, 27 days ahead. That suggests planning early, especially if you need a particular day or want a night session. Free cancellation is available until 24 hours before the start time, but changes or cancellations inside that window are not accepted for a refund.
Who should book this private Kyoto lesson?
I would recommend it to:
- Photographers who want hands-on help with night settings
- Beginners who prefer individual coaching over a large class
- Couples or small groups with different skill levels
- Visitors who want photographs of Kyoto beyond the usual quick snapshots
- Anyone interested in long exposure, composition, and architectural framing
It is less suitable if you do not plan to bring a camera, since one is not provided. It may also be unnecessary for someone who already knows manual exposure and only wants a basic guided walk.
A service animal is allowed, the route is near public transportation, and most people can participate. The information does not describe the walking distance or terrain in detail, so ask the provider if you need a precise mobility assessment.
Final call: book it or skip it?
Book this if you want personal photography instruction tied to real Kyoto locations, especially if night photography is your weak spot. The private format, tripod availability on request, and shot-by-shot review make the lesson more useful than a standard sightseeing walk.
Skip it if $170 feels too high for three hours, if you do not have a camera, or if you mainly want a guide to point out landmarks without changing how you photograph them. For the right photographer, this is a focused way to turn Gion’s lanes, Pontocho’s lanterns, and Kiyomizudera’s evening light into better pictures and better habits.
FAQ
How long is the Kyoto Photography Masterclass?
The private lesson lasts approximately three hours.
How much does the experience cost?
The listed price is $170 per person. Group discounts are available.
Is this a private tour?
Yes. Only your group participates in the activity.
What locations are included?
The route includes Gion, Pontocho District, Gion Corner, Minamiza Theater, Yasaka Shrine, Hokan-ji Temple, Koju Ninenzaka, and Kiyomizudera Temple.
Is a professional photographer included?
Yes. The experience includes a professional photographer guide, a local guide, and a licensed English-speaking in-person local guide.
Do I need to bring my own camera?
Yes. A camera is not included, so you should bring your own equipment.
Is a tripod available?
A tripod is available upon request. Request it before the experience if you need one for night photography.
Where does the tour start and end?
It starts at the Statue of Izumo-no-Okuni at Kawabatacho, Higashiyama Ward, Kyoto. The activity ends back at the meeting point.
Can I cancel for a refund?
You can cancel up to 24 hours before the experience start time for a full refund. Cancellations or changes made less than 24 hours before the start time are not refunded or accepted.
More Photography Workshops in Kyoto
- Paris Photography Masterclass – Private Photography Lesson
★ 5.0 · 112 reviews - 2-Hour Photography Class While Touring Downtown Santa Fe, Smart Phones Welcome!
★ 5.0 · 108 reviews - Unique Rome by Night, Photo Tour and Workshop Under the Stars
★ 5.0 · 96 reviews - Elevate Your Photography – Barcelona Private Tour & Workshop
★ 5.0 · 78 reviews
More Private Photoshoots in Kyoto
- Kyoto: Private Photoshoot Experience in Arashiyama Bamboo
★ 4.9 · 55 reviews - Kyoto:Private Tour/Luxury Vehicle with Guide & photographer
★ 4.8 · 35 reviews - Kyoto 6hr Instagram Highlights Private Tour with Licensed Guide
★ 5.0 · 18 reviews - Kyoto: Photo Shoot with a Private Vacation Photographer
★ 5.0 · 8 reviews
Just added around Kyoto
- Kyoto: Private Photoshoot Experience in Arashiyama Bamboo★ 4.9 · 55 reviews
- Kyoto: Private romantic photoshoot for couples★ 5.0 · 4 reviews
- Kyoto:Private Tour/Luxury Vehicle with Guide & photographer★ 4.8 · 35 reviews
- Kyoto: Photo Shoot with a Private Vacation Photographer★ 5.0 · 8 reviews
- Kyoto : Maiko Makeover stroll and photo shoot experience★ 3.9 · 9 reviews
- Kyoto: Private Photoshoot in Arashiyama, Bamboo Forest★ 5.0 · 2 reviews
- Kyoto kiyomizu Temple : Maiko and Samurai Couple Photoshoot★ 4.8 · 25 reviews
- Kyoto kiyomizu Temple : Maiko and Samurai Family Photoshoot★ 5.0 · 2 reviews
Photography Workshops & Lessons, compared.
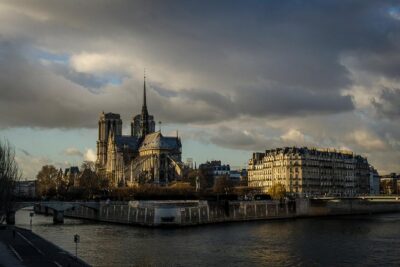
Paris Photography Masterclass – Private Photography Lesson
Read our review →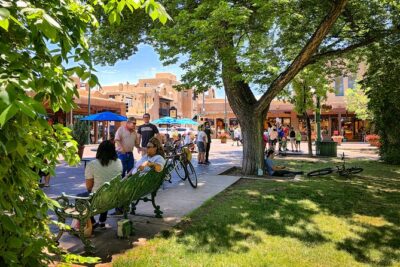
2-Hour Photography Class While Touring Downtown Santa Fe, Smart Phones Welcome!
Read our review →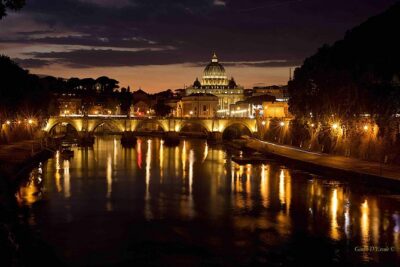
Unique Rome by Night, Photo Tour and Workshop Under the Stars
Read our review →
Elevate Your Photography – Barcelona Private Tour & Workshop
Read our review →
Rome Photography Masterclass – Private Photography Lesson
Read our review →
Private (Phone) Photography Class in Park & Old Town
Read our review →
Venice Photography Masterclass – Private Photography Lesson
Read our review →