REVIEW · VENICE
Venice Photography Masterclass – Private Photography Lesson
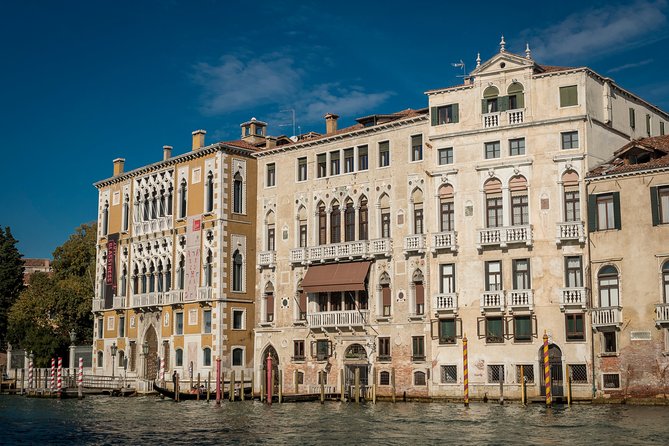
Venice is a superb classroom for photography because the light changes every few steps. On this private walk, you can work with a professional photographer while shooting the Rialto Bridge, Saint Mark’s Basilica, the Grand Canal, and quieter corners where Venetians live. I like the one-to-one instruction and the freedom to shape the route around your interests. I also like that you learn practical camera controls, not just where to point your lens.
The main consideration is the price: $204.25 per person is a serious outlay for a three-hour walk, especially for one person. It makes better sense if you share the booking with up to three companions, want hands-on help with a real camera, or plan to use the skills throughout your stay.
Key points before you book
- Private instruction for up to four people: You get personal guidance rather than a large group lesson.
- A working camera class: Practice aperture, shutter speed, ISO, manual settings, timers, angles, focal points, and composition.
- Venice’s major photo locations: The route includes Piazza San Marco, the Rialto Bridge, Ponte dell’Accademia, and the Campanile di San Marco.
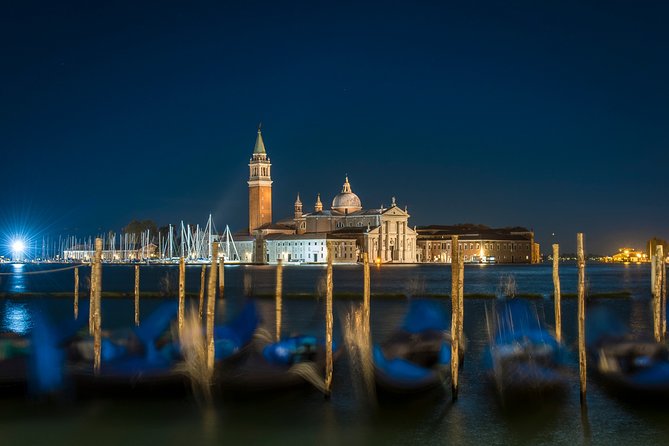
- Daylight through night photography: The lesson covers daylight, sunset, and illuminated Venice, with techniques such as long exposure and light painting.
- Useful for beginners: Hands-on help can make an unfamiliar DSLR or mirrorless camera less intimidating.
- A flexible walking route: Your guide can focus on landmarks, local streets, night scenes, or another photographic interest.
Why a private camera lesson works well in Venice
A standard sightseeing walk tells you what you are looking at. This experience asks you to look more carefully at how Venice is lit, framed, and reflected. That difference matters. The city is full of bright stone, narrow lanes, open squares, dark water, and changing skies, so you have plenty of chances to test one camera setting against another.
Your guide meets you at Campo San Vidal in central Venice. From there, you walk with your own camera and work through the basics at real locations. You can ask how to set aperture, shutter speed, and ISO, then immediately see what those choices do to the image.
I especially like the hands-on format for anyone who has moved from a simple bridge-style camera to a DSLR or another advanced model. It is easy to own a capable camera and leave it in a drawer because the controls feel like too much. This lesson gives you a reason to use it, with a professional beside you when the settings become confusing.
The private format also changes the pace. You can stop for a question, repeat a technique, or ask to spend more time on a particular subject. With a maximum of four people, the guide can pay attention to each person’s camera and skill level. That is far more useful than trying to keep up with a large class.
The route is tailored, but the planned stops give the walk a clear shape. Expect about three hours, with roughly 30 minutes devoted to photography in and around each listed area. The actual order and emphasis may depend on light, your interests, and the guide’s approach.
More Photography Workshops in Italy
- Unique Rome by Night, Photo Tour and Workshop Under the Stars
★ 5.0 · 96 reviews - Rome Photography Masterclass – Private Photography Lesson
★ 5.0 · 67 reviews - Rome by Day, Beauty and History Unique Photo Tour and Workshop
★ 5.0 · 36 reviews
Piazza San Marco and the Campanile
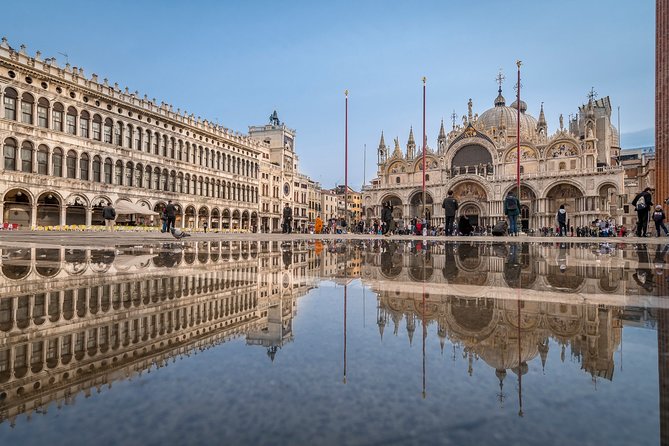
Piazza San Marco gives you Venice’s grandest open view. Saint Mark’s Basilica, the square, and the Campanile di San Marco offer strong subjects for learning composition and perspective. You can work on how much of the square to include, where to place architectural lines, and how to handle bright stone against shadow.
The Campanile is listed as a separate photography stop, so it may receive its own attention rather than being treated as a quick glance from the piazza. The square also gives you room to try different camera angles. A small change in position can alter the relationship between the basilica, bell tower, and surrounding buildings.
This is a useful place to practice during daylight, when you can see how aperture affects the amount of the scene in focus. Your guide can also help you test focal points and composition instead of relying on automatic settings.
The drawback is that major landmarks can be visually busy. You may need patience to find a clean frame, and the open square can make it harder to isolate one detail. That is not a reason to skip it. It is a good lesson in editing your view and making a famous scene feel more personal.
The wider city and local streets
The city portion of the walk gives the lesson room to move beyond postcard views. One of the strongest features of the experience is the chance to photograph areas where locals live, rather than staying only around the best-known monuments.
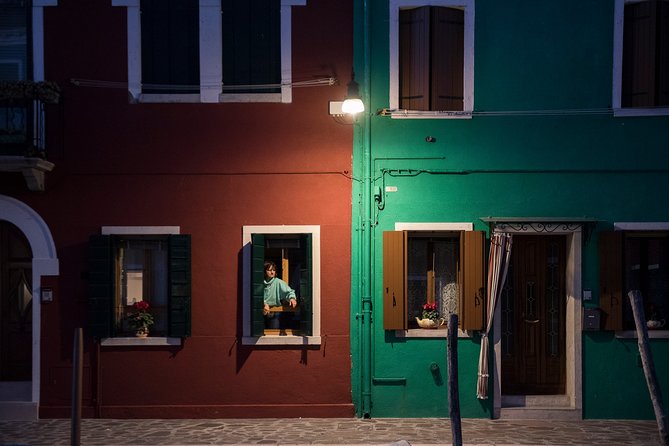
That matters because Venice’s character is not limited to Saint Mark’s Square or the Rialto Bridge. Narrow passages, doors, bridges, canals, and everyday street scenes can give your photo collection more variety. You might find that these less formal views are easier to compose than a huge landmark surrounded by visual distractions.
The route can be adapted to your interests, so tell the guide what you want to learn. You may want architecture, street photography, reflections, night scenes, or help with your particular camera. The more specific you are at the start, the more useful the private format becomes.
This part of the walk is also a good chance to practice moving from subject to subject. You can work on focal points, camera angles, and the balance between buildings and water. Your guide is not just showing you where to stand. The goal is to help you understand why one position or setting gives you a stronger image than another.
Rialto Bridge and the Grand Canal
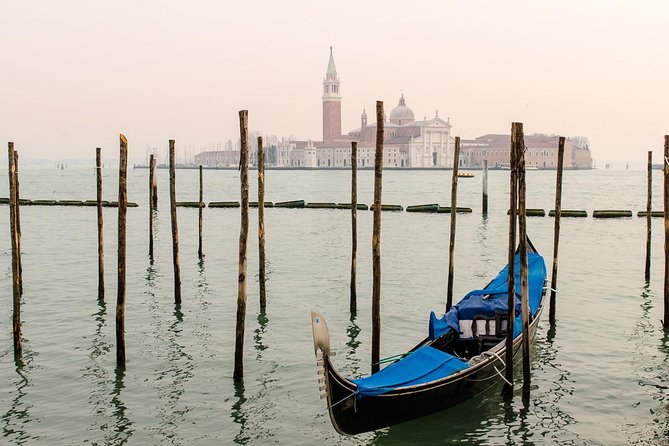
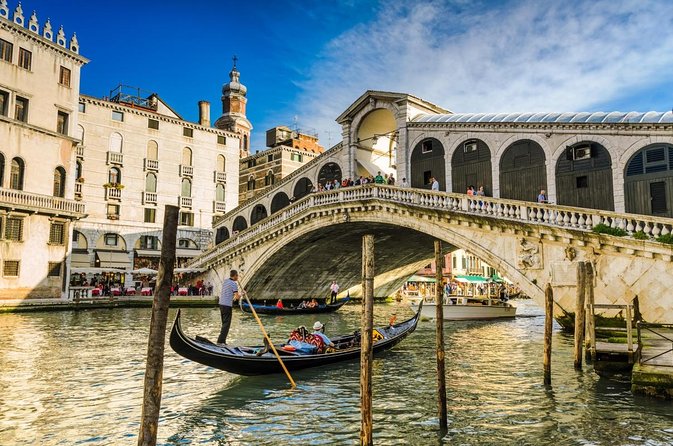
The Ponte di Rialto is one of Venice’s essential photography stops. Its position over the Grand Canal gives you architectural detail, water, boats, and long views through the city. It is a natural place to experiment with composition and with the way a wide scene fits into your frame.
The bridge can also challenge your technique. There is a lot to photograph, and a crowded scene can quickly become untidy. Your guide can help you decide whether to make the bridge itself the subject, use it as a frame, or point your lens toward the canal and the buildings beyond.
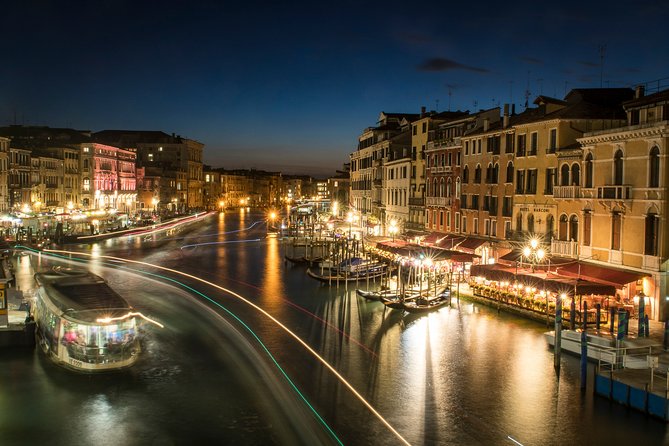
The Grand Canal becomes especially useful as the light changes. During the day, you can work with reflections and contrast. Around sunset, the same location may offer softer light and warmer tones. Later, illuminated buildings and moving lights create a chance to try long exposures and light streaks.
Night photography requires more control than simply switching to a night setting. You may learn how to use manual mode, set a timer, and avoid camera shake. One lesson participant used a Canon DSLR with a small Fotopod tripod when a personal tripod was unavailable, then practiced manual settings and the camera timer. That detail is worth noting if you are concerned about equipment. Bring your own gear if you have it, but ask the guide about alternatives if something goes wrong.
More Private Photoshoots in Italy
- Private Photo Shoot in Venice with Gondola Ride Included
★ 5.0 · 90 reviews - Private Photoshoot on Personal Gondola in Venice
★ 5.0 · 82 reviews - Private Photo Shoot in Venice with Gondola Ride
★ 5.0 · 81 reviews - Venice private photo shoot with a local photographer!
★ 4.8 · 76 reviews
Ponte dell’Accademia and Venice’s changing light
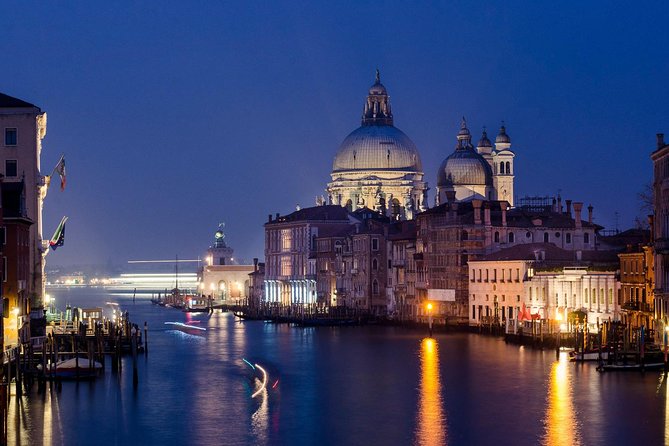
Ponte dell’Accademia offers another useful viewpoint for working with the city’s water and architecture. The bridge gives you a different view from Rialto and lets you compare how the same city changes from one angle to another.
This is where the lesson’s focus on composition becomes practical. You can experiment with what belongs at the edge of the frame, how much sky or water to include, and where the eye travels through the image. Your guide may also help you use focal length and perspective to make a scene feel wider, tighter, closer, or more distant.
The experience is designed to include several lighting conditions. Daylight is best for learning the basic controls without too many complications. Sunset adds softer light and stronger color, while twilight and night photography force you to think more carefully about exposure and stability.
Timing matters here. The tour lasts about three hours, but the information does not specify a fixed start time. If sunset or night photography is your main goal, confirm the schedule when booking so the lesson takes place at the light you want. A daytime start may be better for beginners who need time to understand the controls before trying long exposure work.
What you can learn with your own camera
The lesson covers the three controls you need to understand first:
- Aperture: This affects how much of the scene appears sharp and how much light enters the lens.
- Shutter speed: This controls how motion and moving light are recorded.
- ISO: This changes the camera’s sensitivity to light, which becomes important after dark.
You also work with camera angles, focal points, and composition. Those subjects are more useful when practiced on real scenes. Instead of learning settings in a room and forgetting them later, you can test them on a basilica, a bridge, a canal, or a night view.
The night lesson is particularly practical. Techniques may include long exposure light streaking and light painting. These methods can create striking images of the illuminated city, but they also require a steady camera and careful timing. The one-to-one setting gives you space to repeat the process until the result makes sense.
The experience suits beginners, but it is not limited to them. If you already use manual mode, you can ask for help with a specific problem, such as low-light exposure, composition, or choosing a better angle. The guide names associated with this experience include Marco and Nicoletta. Marco has taught manual mode, aperture priority, and timer use during a night session, while Nicoletta is described as both a strong photographer and an effective teacher.
Price, group size, and practical value
At $204.25 per person, this is not a cheap sightseeing walk. You are paying for a private photographer guide, a private walking route, and direct help with your own equipment. The value depends heavily on how much you want to learn.
For one person, the cost may feel high for about three hours. For two, three, or four people, the group discount can make the price easier to justify, especially if everyone has a camera and similar interests. The maximum booking size is four people, so the experience remains small enough for questions and individual attention.
I would book this near the beginning of a Venice stay. That way, you can use the techniques for the rest of your visit. A lesson taken early may improve your photos at every later stop, rather than producing one good evening of pictures and then ending there.
The walk does not include transportation to or from attractions, and hotel pickup and drop-off are not provided. Since this is a private walking tour, you should be ready to get between the stops on foot. Meet at Campo San Vidal, and return there at the end.
The activity operates in all weather. Dress for the conditions and protect your camera as needed. Venice weather can change the feel of the lesson, but clouds, reflections, and wet pavement may also give you different photographic conditions than a clear afternoon.
Confirmation is provided at booking, mobile tickets are available, and service animals are allowed. Most people can participate, though this remains a walking experience with several locations. On certain dates, day visitors staying outside Venice may need to pay a €5 access fee. Check the official Venice access-fee information before your visit.
Who should book the Venice Photography Masterclass
I would choose this for a beginner with a camera that has more buttons than expected. It is also a good fit if you want personal help rather than a general photography lecture.
You should book it if:
- You want to understand manual settings through practice.
- You are interested in sunset or night photography.
- You want a route shaped around your own photographic interests.
- You are happy to walk between central Venice locations.
- You can share the cost with up to three companions.
- You want skills you can use for the rest of your trip.
I would think twice if you only want a quick tour of Venice’s famous sights. The lesson gives you photography instruction, so some time will be spent adjusting settings, repeating shots, and discussing composition. If your priority is simply to see as much as possible, a standard sightseeing tour may suit you better.
The cancellation policy is forgiving if your plans change: cancel at least 24 hours before the start time for a full refund. Changes or cancellations made later are not accepted for a refund.
Should you book it?
Book this private lesson if you want to leave Venice with better camera habits, not just a full memory card. The strongest reasons are the one-to-one coaching, the tailored route, and the chance to practice across daylight, sunset, and night conditions.
The price is the clear hurdle. It is easiest to justify when you share the booking, use a serious camera, and schedule the lesson early enough to apply what you learn throughout your visit. For a beginner who has struggled with manual controls, the practical help from guides such as Marco or Nicoletta could be worth more than another ordinary sightseeing walk.
FAQ
How long does the Venice Photography Masterclass last?
The experience lasts approximately three hours.
Where does the photography lesson start?
Meet your private guide at Campo San Vidal, Campo S. Vidal, 30124 Venezia VE, Italy.
Where does the activity end?
The tour ends back at the meeting point.
How many people can join the private tour?
A maximum of four people can participate in one booking.
Is transportation included?
No. Transportation to and from the attractions, along with hotel pickup and drop-off, is not included.
What happens if I need to cancel?
You can receive a full refund if you cancel at least 24 hours before the experience start time. Cancellations or changes made less than 24 hours before the start are not accepted for a refund.
More Photography Workshops in Venice
- Paris Photography Masterclass – Private Photography Lesson
★ 5.0 · 112 reviews - 2-Hour Photography Class While Touring Downtown Santa Fe, Smart Phones Welcome!
★ 5.0 · 108 reviews - Elevate Your Photography – Barcelona Private Tour & Workshop
★ 5.0 · 78 reviews - Private (Phone) Photography Class in Park & Old Town
★ 5.0 · 53 reviews
More Private Photoshoots in Venice
- 3 Hours Private Original Venice Photo Walk
★ 5.0 · 57 reviews - Venice Photography Walking Tour with Private Guide
★ 5.0 · 57 reviews - Private Tour: Personal Travel Photographer Tour in Venice
★ 4.5 · 22 reviews - Venice: 2-Hour Private Photo Walk
★ 4.9 · 12 reviews
Just added around Venice
- Venice: Private Photo Shoot and Professional Images★ 5.0 · 5 reviews
- Early Morning Photo Tour and Breakfast in a Luxury Location★ 4.5 · 2 reviews
- A Unique Photoshoot in Venice★ 5.0 · 17 reviews
- Private Tour: Personal Travel Photographer Tour in Venice★ 4.5 · 22 reviews
- Venice: Personal Travel and Vacation Photographer Services★ 4.6 · 36 reviews
- Hidden Venice Photo Tour with your phone!★ 4.5 · 12 reviews
- Venice: 2-Hour Private Photo Walk★ 4.9 · 12 reviews
- 3 Hours Private Original Venice Photo Walk★ 5.0 · 57 reviews
Photography Workshops & Lessons, compared.
Paris Photography Masterclass – Private Photography Lesson
Read our review →
2-Hour Photography Class While Touring Downtown Santa Fe, Smart Phones Welcome!
Read our review →
Unique Rome by Night, Photo Tour and Workshop Under the Stars
Read our review →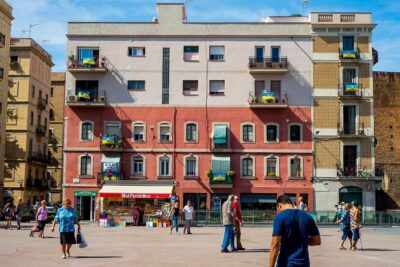
Elevate Your Photography – Barcelona Private Tour & Workshop
Read our review →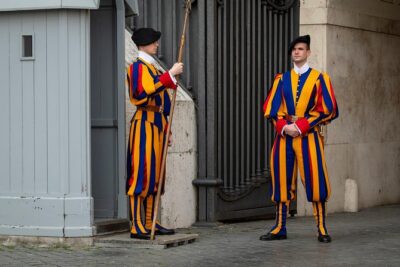
Rome Photography Masterclass – Private Photography Lesson
Read our review →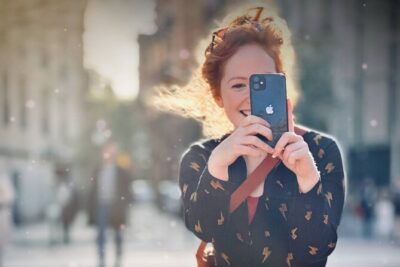
Private (Phone) Photography Class in Park & Old Town
Read our review →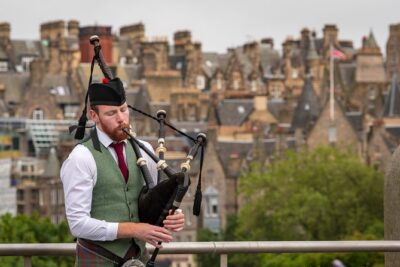
Edinburgh Photography Masterclass – Private Photography Lesson
Read our review →