
REVIEW · USA
Milky Way Photography in Arches National Park
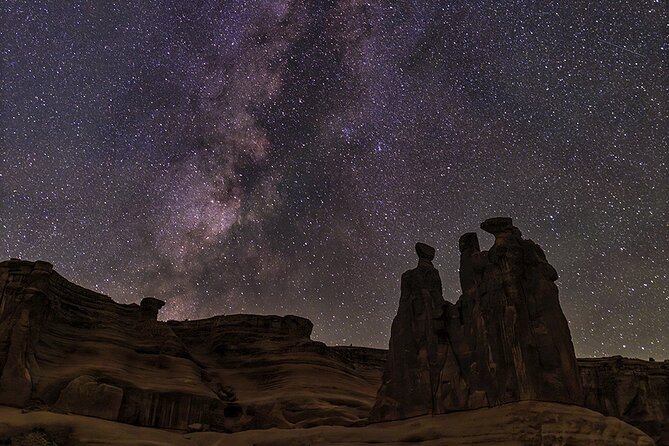
Arches National Park becomes a very different place after dark. Under its protected International Dark Sky conditions, the Milky Way can stretch above the red-rock formations with far more detail than you’ll see near a city. This three-and-a-half-hour outing teaches you how to photograph it, not simply where to point your camera.
I like the maximum group size of four, which gives Colin Young or Geremy time to help with individual cameras. I also like the practical setup: camera instruction, snacks, refillable water, and composition advice in the field. The main catch is timing. From March through May, the Milky Way appears only after midnight, while fall departures are offered as a sunset-and-night combination rather than as this standalone night trip.
Key points to know before booking
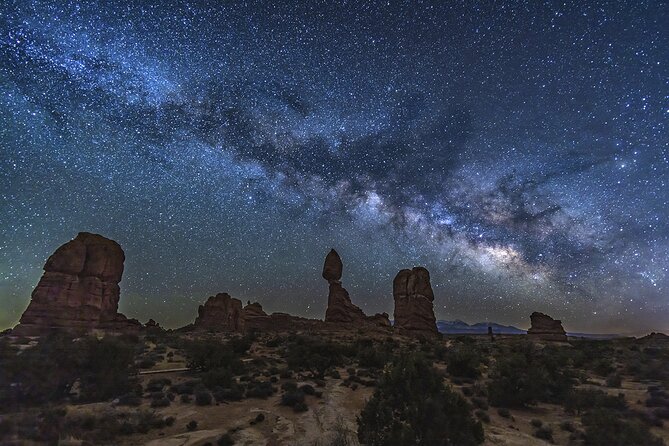
- Two or more Arches locations: You’ll photograph the Milky Way at at least two spots inside the park.
- Small-group teaching: The maximum is four people, so camera help should be more personal than on a bus tour.
- Bring serious gear: You need a DSLR or mirrorless camera that can shoot at least ISO 3200, plus a tripod and wide lens.
- Seasonal departure times: Spring means a late-night pickup after midnight, while fall is offered only with a sunset portion.
- Useful help for beginners: Colin sends camera-setting guidance before the outing, and the guides can help you get your settings started.
- Good value for focused photographers: The $275 price is easier to justify if you want instruction and finished images, not just a ride beneath the stars.
Why Arches after dark is worth the late hour
Arches is famous for daylight views, but darkness changes the scale and mood of the park. The sandstone formations become silhouettes, stars fill the open sky, and the Milky Way gives your photos a bright natural band that city light usually erases.
You are not simply stopping at a viewpoint and taking a quick phone picture. The goal is to learn the basic method for night photography, then apply it in the park. That makes the outing useful even if you are new to manual camera controls.
The setting matters as much as the instruction. Arches is recognized for its dark skies, so the park provides the conditions needed for astrophotography. Still, a dark sky also means a genuinely dark walk. You should be comfortable moving around at night, and this outing is not recommended if you have poor night vision.
More Night Photography in the USA:
- Private Guided Night Photography Tours on Cape Cod (for one photographer.)
★ 5.0 · 38 reviews - Moab: The Windows Astro-Photography and Stargazing Hike
★ 4.8 · 36 reviews - Sunset and Night Photography in Arches National Park
★ 5.0 · 23 reviews
What the 3.5-hour outing includes
The experience begins at the Moab Information Center, 25 E Center Street. Pickup is offered, but the listed meeting point is the reliable place to plan around. At the end, you return to that same meeting point.
After meeting your guide, you get a crash course in camera settings for photographing the Milky Way. The instruction is aimed at DSLR and mirrorless cameras, and it focuses on getting a workable setup before you begin shooting. That can save you from spending half the night guessing at ISO, focus, shutter speed, and aperture.
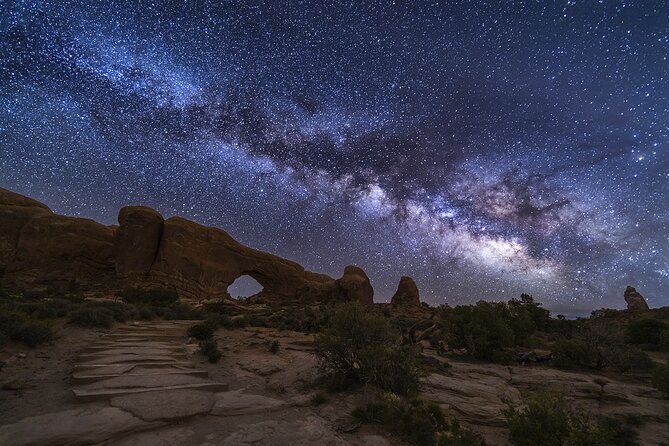
The tour then heads into Arches National Park. You’ll visit and photograph at least two locations. The exact sites are not specified, so you should think of the itinerary as a night photography route rather than a fixed list of named arches.
That flexibility can be useful. A guide may select locations based on the night, the timing of the Milky Way, and the best available composition. It also means you should not book this expecting a guaranteed photo of one particular arch.
At least two locations, with time to work
The most useful part of the outing is the chance to make more than one setup. At the first stop, you can learn the basic process and test your settings. Once the camera is working, the second location gives you another composition and another chance to improve.
Colin has been praised for knowing the area and suggesting compositions. That kind of help matters at night, when the scenery is hard to read with your eyes and even harder to frame through a camera. You may find that a modest change in foreground, angle, or position makes the difference between a flat sky photo and an image with depth.
The route is not described as a strenuous hike, but you should have a moderate level of physical fitness. Bring a headlamp or flashlight, preferably one with a red-light setting. Red light is less disruptive to night vision, which helps you see without washing out the darkness for everyone around you.
You’ll also want to keep your expectations sensible. The tour is about learning and photographing, not guaranteeing a perfect image. Your results depend on your camera, lens, focus, steadiness, settings, and the night sky.
The camera lesson is the real value
At $275 per person, this is not a cheap sightseeing ride. Its value comes from the small group, the park access, and the hands-on photography instruction.
If you already understand your camera, you may mainly be paying for access to strong night scenery and guidance on composition. If you are new to night photography, the instruction can be more important than the scenery itself. A guide who can help you set up the camera and correct mistakes in the field may prevent you from wasting an entire night.
Colin has provided an instruction sheet before the outing so participants can prepare their cameras ahead of time. That is a useful touch. You can arrive with some settings already understood instead of starting from a blank menu in the dark.
The guides have also helped with different cameras in the field. Still, you should not assume they can solve every technical problem. Bring a camera you know how to operate at a basic level, and make sure its battery is charged before pickup.
More National Park Trips in the USA:
- Private Guided Photography & Walking Tour of Zion National Park
★ 5.0 · 75 reviews - Exquisite Wildlife & Wilderness Photo Tour Anchorage -Whittier
★ 5.0 · 12 reviews - Everglades National Park: Private 2.5-Hour Photo Safari
★ 4.9 · 9 reviews - Sunrise photography in Dead Horse Point and Canyonlands National Park
★ 5.0 · 8 reviews
The gear list is specific for good reason
You need to bring your own equipment. The tour does not provide cameras, though Colin may be able to loan a spare tripod if you do not have one. That possibility is helpful, but you should not rely on it without confirming ahead of time.
The recommended setup is:
- A DSLR or mirrorless camera capable of shooting at least ISO 3200
- A wide-angle lens, roughly 14mm to 35mm on a full-frame camera
- A lens in the range of about 10mm to 24mm on a crop-sensor camera
- A lens that opens to f/3.5 or wider
- A sturdy tripod
- A headlamp or flashlight, preferably with a red setting
The wide lens is important because it lets you include both the broad sky and the sandstone foreground. A lens that opens to f/3.5 or lower allows more light to reach the sensor, which is useful in a dark setting.
A late-model iPhone or another advanced phone camera may be able to capture the Milky Way. The wording here is cautious, and so should you be. Phone results vary, and the main instruction is designed for DSLR and mirrorless cameras.
Spring, fall, and the problem of timing
Season affects this experience more than many people expect.
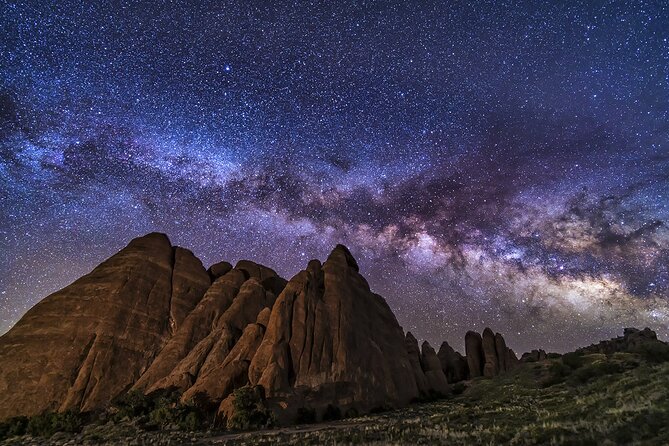
From March through May, the Milky Way does not appear until after midnight. The standalone night tour therefore begins with a late-night pickup and runs into the early morning. This is a poor fit if you have an early start planned the next day, but it is the necessary tradeoff for seeing the galaxy at the right time.
In the fall, this standalone version is not offered. The operator offers a combined sunset and night tour instead. That can give you a fuller evening, but it also means a different schedule and a longer transition from daylight photography to stars.
You should check the season carefully before booking. The same title can suggest one simple departure time, but spring and fall work differently here. The timing of the Milky Way controls the schedule.
A small group makes the instruction personal
The group limit is four people. That is one of the strongest features of the experience.
Night photography can involve a surprising number of small problems: the tripod shifts, autofocus struggles, the camera refuses to focus in darkness, or the settings produce a black frame. With four or fewer people, Colin or Geremy has a better chance of helping you directly.
The two guides named in the experience are Colin and Geremy. Colin has been praised for his patience, camera help, and suggestions for composition. Both have been described as approachable and well versed in night photography, as well as the geology and story of Arches.
That park knowledge adds value, especially when the sky is not the only thing you want to understand. You get a sense of how the rock forms and night setting work together in a photograph, rather than treating the park as a blank backdrop.
Snacks, water, and practical comforts
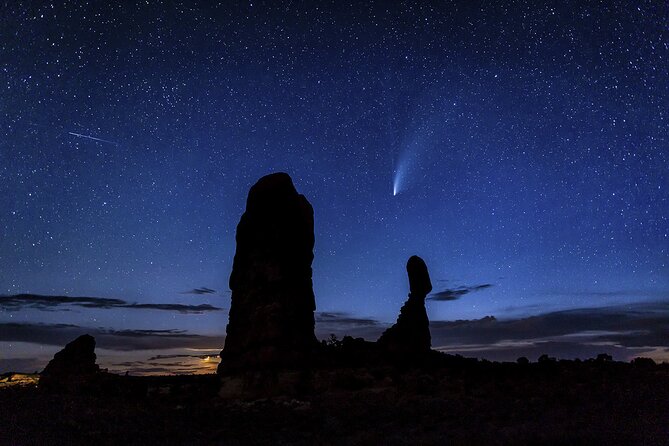
The tour includes snack bars or trail mix, with gluten-free options. It also includes a cooler of ice water for refilling reusable bottles.
These are small inclusions, but they matter on a late-night outing. You will be outside for about three and a half hours, and the combination of waiting, walking, and concentrating on camera settings can make a snack welcome.
Bring your own reusable bottle. You should also dress for nighttime conditions, though no specific clothing list is provided. Temperatures can feel different after sunset, so a layer you can add or remove is sensible without assuming a particular forecast.
Who will get the most from this experience
This outing suits you best if you have a DSLR or mirrorless camera and want to learn how to use it for stars. It also suits a couple or small group that values instruction over a large guided excursion.
Beginners are welcome, but you should be willing to handle basic camera controls. The pre-trip instructions can help, and the guides can assist with setup, yet the experience will be easier if you know how to change settings and mount your camera on a tripod.
It can also work for someone without a dedicated camera. You may still enjoy the night sky and park scenery, and an advanced phone may produce a usable image. But if nobody in your group has a suitable camera, you are paying for a photography lesson you may not be able to use fully.
This is less suitable if you dislike late nights, have poor night vision, or want a fast-moving sightseeing trip with many named stops. The focus is slow and purposeful: set up, frame, shoot, adjust, and try again.
The cancellation concern and how to plan around it
You can cancel up to 24 hours before the experience for a full refund. Confirmation is sent within 48 hours of booking, subject to availability.
Because this is a one-person operation, availability can occasionally change. A past booking problem involved a calendar that had not been updated before a trip became unavailable. The operator contacted the customer and offered other dates and another guide, but the episode shows why you should confirm the date promptly, especially if your entire Moab schedule depends on this outing.
Do not build a tightly packed vacation around the assumption that every departure is fixed until you receive confirmation. This is sensible planning for any small, owner-operated experience.
My take on the $275 price
The price makes sense for the right person. You are paying $275 for a small group of no more than four, transport or pickup arrangements, entry into a famous dark-sky setting, two or more shooting locations, snacks, water, and direct camera instruction.
It is less compelling if you only want to look at stars for a few minutes. You could enjoy the sky without paying for a photography lesson, but you would lose the benefit of someone helping you turn the experience into a usable image.
I would view the cost as a private-style lesson shared with a few other people, not as a standard park excursion. The more questions you bring, and the more you practice with your camera, the more value you are likely to get.
Should you book Milky Way Photography in Arches National Park?
Book it if you want to photograph the Milky Way, have the required camera gear, and prefer patient instruction in a group of four or fewer. The combination of Arches night scenery, two shooting locations, and guidance from Colin or Geremy gives the outing a clear purpose.
Think twice if you are not prepared for a late-night schedule, lack a tripod and wide lens, or mainly want a casual stargazing stop. Spring bookings require an after-midnight start, and fall departures are tied to a sunset-and-night format.
For a beginner with a serious interest in night photography, this is a strong way to learn without facing the dark sky alone. Just confirm the date, bring the right equipment, and arrive ready to stay awake.
FAQ
Where does the tour begin?
The tour begins at the Moab Information Center, 25 E Center Street, Moab, Utah.
Where does the experience end?
The activity ends back at the meeting point.
How long does the tour last?
The tour lasts approximately 3 hours and 30 minutes.
How many people can join?
The maximum group size is four people.
Is pickup available?
Yes, pickup is offered.
What kind of camera should I bring?
Bring a DSLR or mirrorless camera capable of shooting at least ISO 3200.
What lens is recommended?
A wide-angle lens is recommended, roughly 14mm to 35mm on a full-frame camera or 10mm to 24mm on a crop-sensor camera. It should open to at least f/3.5 or lower.
Do I need a tripod?
You should bring a sturdy tripod. The guide may be able to loan a spare tripod, but this is not guaranteed.
Can I use a cell phone?
Late-model iPhones and other advanced cell phone cameras may be able to capture the Milky Way, though the instruction is designed mainly for DSLR and mirrorless cameras.
Just added around the USA
- Sunset and Night Photography in Arches National Park★ 5.0 · 23 reviews
- Sunrise photography in Dead Horse Point and Canyonlands National Park★ 5.0 · 8 reviews
- Day of Photography in Moab, Arches & Canyonlands★ 5.0 · 34 reviews
- Kenosha Downtown Urban Art and Photography Walking Tour★ 5.0 · 11 reviews
- Private Sunset and Night Photo Tour★ 5.0 · 3 reviews
- Private Wynwood Miami Photoshoot★ 3.0 · 2 reviews
- Private Vacation Photography Session with Local Photographer in Miami★ 3.0 · 2 reviews
- Miami: Professional Private Photoshoot at Miami Beach★ 5.0 · 2 reviews
Night & Astro Photography, compared.
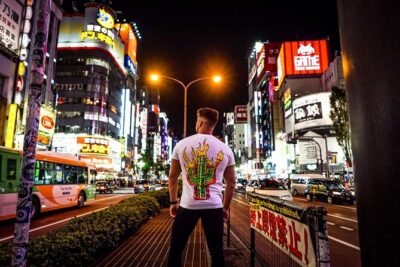
Tokyo by Night Photography Tour (Private Option Available)
Read our review →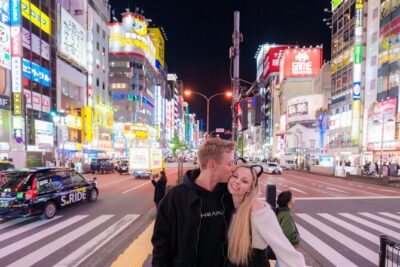
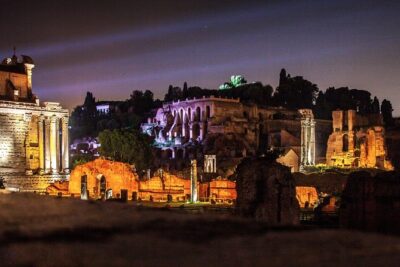
Night Photo Session in a Fiat 500 with Aperol Spritz
Read our review →
Private Guided Night Photography Tours on Cape Cod (for one photographer.)
Read our review →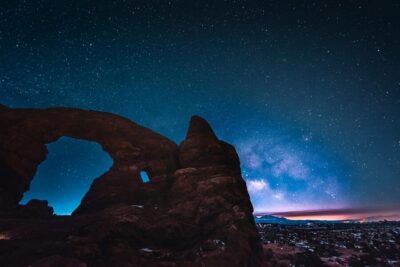
Moab: The Windows Astro-Photography and Stargazing Hike
Read our review →
Browse the lists this tour appears in